Step-by-Step Guide to Using Google Slides for Presentations
Unlock Your Presentation Potential: A Step-by-Step Guide to Mastering Google Slides
Hey friends! Ever feel like your presentations are falling a little flat? Like you're talking at your audience instead of connecting with them? We've all been there. The dreaded slideshow staring contest. You’ve spent hours crafting the perfect message, gathering killer data, and rehearsing your delivery until you can recite it in your sleep. But something's still missing. It might be the tool you're using. Think about it: how many times have you sat through a presentation where the slides were visually…uninspiring, to say the least? Or worse, technically glitchy? It's a buzzkill, right?
We're living in the age of visual communication. Data is cheap, stories are invaluable. Attention spans are shorter than ever, and if you don't grab your audience within the first few seconds, you've likely lost them. Plain text on a white background just doesn't cut it anymore. We need dynamic visuals, engaging animations, and seamless delivery. Forget stuffy, corporate presentations. This is about crafting narratives that resonate, visuals that captivate, and a delivery that leaves a lasting impression.
Now, you might be thinking, "Okay, that sounds great, but I'm not a graphic designer! I don't have time to learn fancy software!" And that's where Google Slides comes in. It's not just a presentation tool; it’s a versatile platform packed with features that can transform your presentations from blah to BAM! The beauty of Google Slides lies in its accessibility and user-friendliness. It's cloud-based, meaning you can access your presentations from anywhere with an internet connection. Plus, it's collaborative, allowing you to work with your team in real-time. No more emailing versions back and forth!
But here's the secret: simply having Google Slides isn't enough. You need to know how to wield it effectively. You need to understand the hidden features, the design principles, and the little tricks that can take your presentations to the next level. You need to go beyond the basic templates and create something truly unique and impactful. We’re not just talking about adding some pretty pictures (though those definitely help!). We're talking about weaving a compelling story, using data visualizations to drive your points home, and creating a seamless, engaging experience for your audience.
Think of Google Slides as your digital canvas. You're the artist, and your presentation is your masterpiece. But even the most talented artist needs the right tools and techniques. Whether you're pitching a groundbreaking idea to investors, presenting a quarterly report to your team, or delivering a keynote speech to a packed auditorium, Google Slides can be your secret weapon.
So, are you ready to ditch the boring bullet points and unlock the full potential of Google Slides? Are you ready to create presentations that captivate, persuade, and leave a lasting impact? Well, stick around, because we're about to dive deep into a step-by-step guide that will transform you from a Google Slides novice to a presentation pro. Get ready to learn the ins and outs, the tips and tricks, and the secret sauce to creating presentations that truly shine. What if, by the end of this, you could confidently create a presentation that not only informs but also inspires action? Let's find out.
Mastering Google Slides: Your Comprehensive Guide
Alright, let's get down to business. We're going to walk through everything you need to know to create killer presentations with Google Slides. Think of this as your Google Slides bible, covering everything from the basics to the more advanced techniques. Ready to unleash your inner presentation guru? Let's dive in!
Getting Started: The Basics
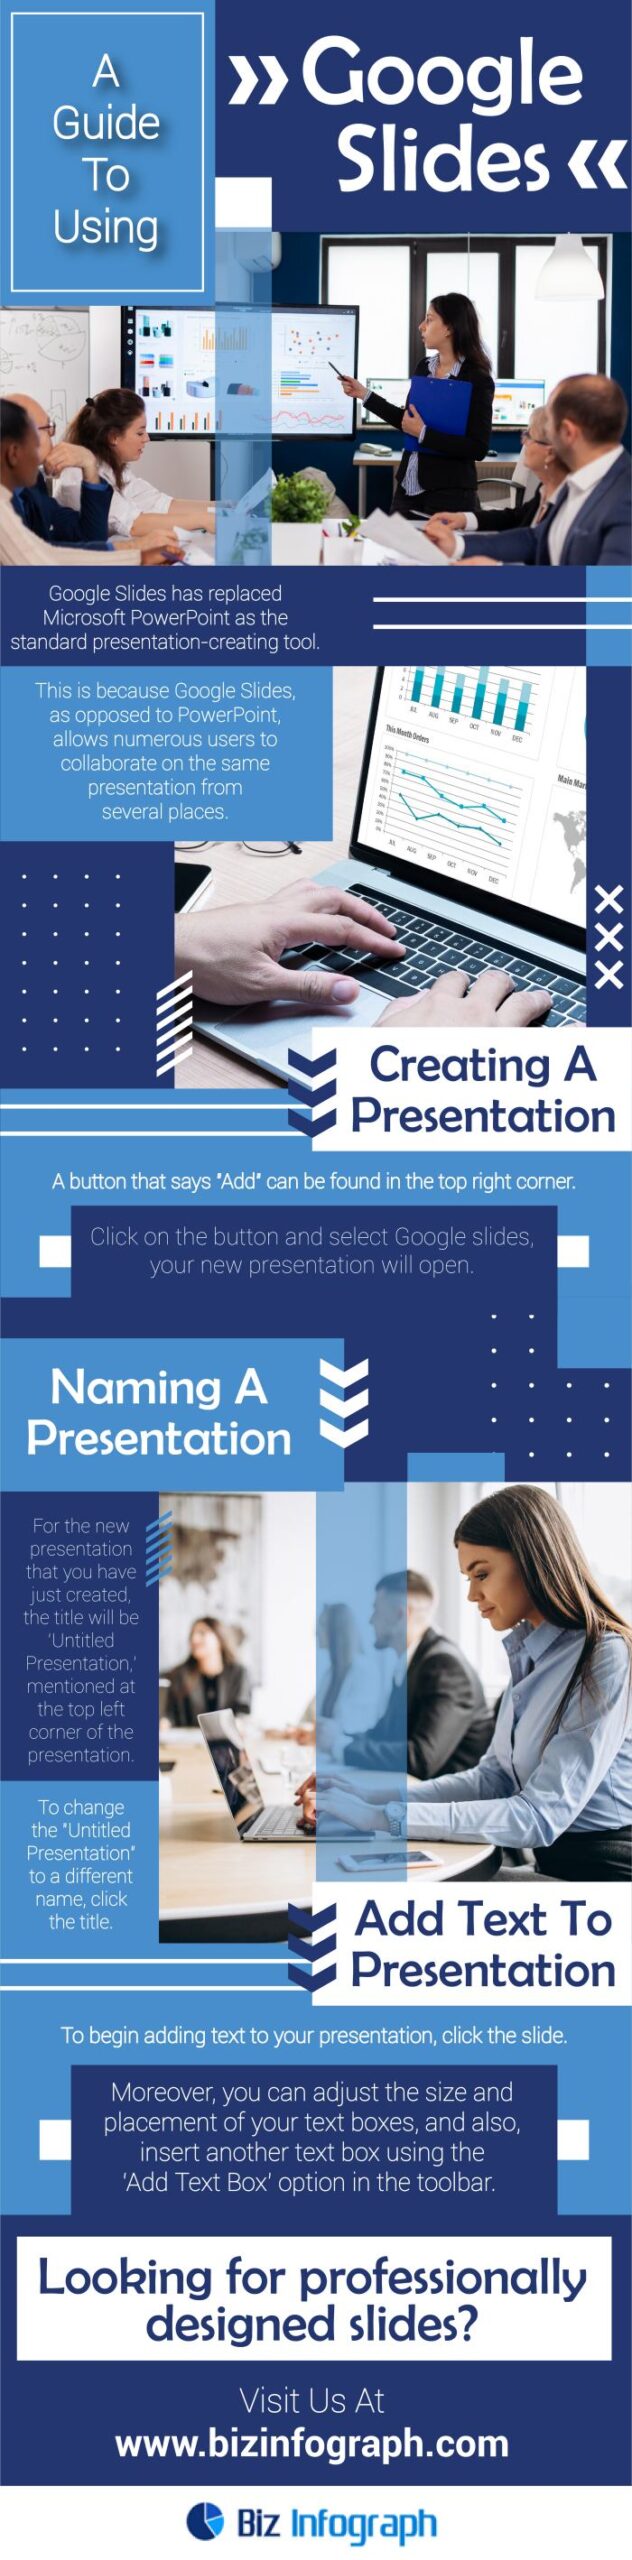
• Creating a New Presentation: First things first, you need a blank canvas. Head over to Google Drive (drive.google.com) and click on the "+ New" button. Then, select "Google Slides" to create a new presentation. It's that easy! Or, you can go directly to slides.google.com and start a new presentation from there. Give your presentation a descriptive title right away. This helps you stay organized, especially when you start accumulating a bunch of presentations.
• Choosing a Theme: Google Slides offers a variety of pre-designed themes to give your presentation a polished look. Click on "Theme" in the toolbar, and browse through the options. Pick one that aligns with your brand and the overall message of your presentation. Don't be afraid to customize the theme to your liking. You can change the colors, fonts, and backgrounds to create a unique look.
• Understanding the Interface: The Google Slides interface is pretty intuitive. You'll find the toolbar at the top, with all the essential tools for adding text, images, shapes, and more. The main area is where you'll create and edit your slides. On the left, you'll see a panel with thumbnails of all your slides, making it easy to navigate and rearrange them.
Crafting Your Content: Text, Images, and More
• Adding and Formatting To add text to a slide, click on the "Text box" icon in the toolbar and drag to create a text box. Type in your text and use the formatting options to change the font, size, color, and alignment. Keep your text concise and easy to read. Use bullet points or numbered lists to break up large blocks of text. Remember, less is often more!
• Inserting Images: Visuals are key to engaging your audience. To insert an image, click on the "Insert" menu and select Image.You can upload images from your computer, search the web, or use images from your Google Drive or Photos. Make sure your images are high-quality and relevant to your content. Crop and resize images as needed to fit your slides.
• Working with Shapes and Icons: Shapes and icons can add visual interest and help illustrate your points. Click on the "Shapes" icon in the toolbar to access a variety of shapes, arrows, and callouts. You can also insert icons by searching online (make sure they are royalty-free!). Customize the color, size, and outline of your shapes and icons to match your theme.
• Creating Charts and Diagrams: Data can be boring, but it doesn't have to be! Google Slides allows you to create charts and diagrams to visualize your data in an engaging way. Click on the "Insert" menu and select Chart.Choose from different chart types, such as bar charts, pie charts, and line graphs. You can also link your chart to a Google Sheet to automatically update the data.
Animating Your Presentation: Transitions and Animations
• Adding Slide Transitions: Transitions are the visual effects that occur when you move from one slide to the next. To add a transition, click on the "Transition" button in the toolbar. Choose from a variety of transitions, such as fade, slide, and flip. Use transitions sparingly and consistently to avoid distracting your audience.
• Animating Objects: Animations can bring your slides to life and help you reveal information gradually. To animate an object, select it and click on the "Animate" button in the toolbar. Choose from different animation effects, such as fade in, fly in, and zoom. Customize the animation speed and trigger (e.g., on click, after previous).
• Tips for Effective Animation: Don't go overboard with animations! Use them strategically to highlight key points or guide your audience's attention. Keep your animations subtle and professional. Avoid using distracting or cheesy animations. Remember, the goal is to enhance your presentation, not to turn it into a cartoon.
Collaboration and Sharing: Working with Others
• Sharing Your Presentation: Google Slides makes it easy to collaborate with others on your presentations. Click on the "Share" button in the top right corner. Enter the email addresses of the people you want to share with and choose their permission level (e.g., can edit, can view, can comment).
• Collaborating in Real-Time: When you share your presentation with others, you can work on it together in real-time. You'll see each other's cursors and edits as they happen. Use the chat feature to communicate with your collaborators.
• Getting Feedback: Google Slides also allows you to get feedback on your presentations. You can add comments to specific slides or objects. Your collaborators can then respond to your comments and provide suggestions.
Delivering Your Presentation: Tips and Tricks
• Using Presenter View: Presenter View is a lifesaver when delivering your presentation. It shows you your notes, the current slide, and the next slide, all in one screen. To access Presenter View, click on the "Present" button and select "Presenter View."
• Adding Speaker Notes: Speaker notes are your secret weapon for delivering a confident and engaging presentation. Add notes to each slide to remind yourself of key points, statistics, or anecdotes. Don't read your notes verbatim. Use them as a guide to help you stay on track.
• Engaging Your Audience: The key to a successful presentation is engaging your audience. Ask questions, tell stories, and use humor to keep them interested. Make eye contact and speak clearly and confidently. Don't be afraid to move around and use gestures.
• Rehearsing Your Presentation: Practice makes perfect! Rehearse your presentation multiple times before you deliver it. Time yourself to make sure you're within the allotted time. Ask a friend or colleague to watch you and give you feedback.
• Using Keyboard Shortcuts: Learn the keyboard shortcuts for Google Slides to speed up your workflow. For example, press "Ctrl + M" (or "Cmd + M" on a Mac) to add a new slide. Press "Ctrl + Z" (or "Cmd + Z") to undo your last action.
Advanced Techniques: Taking Your Presentations to the Next Level
• Creating Custom Templates: Tired of using the same old themes? Create your own custom templates! Start with a blank presentation and design your own layout, colors, and fonts. Then, save it as a template to use for future presentations.
• Using Master Slides: Master slides allow you to make changes to the overall design of your presentation. Any changes you make to the master slide will be reflected on all the slides in your presentation. To access the master slide, click on the "View" menu and select Master.• Embedding Videos and Audio: You can embed videos and audio into your Google Slides presentations to make them more engaging. Click on the "Insert" menu and select "Video" or Audio.You can upload videos from You Tube or your Google Drive.
• Creating Interactive Presentations: Google Slides can be used to create interactive presentations with clickable buttons and hyperlinks. Use shapes or images as buttons and link them to other slides or external websites.
• Using Add-ons: Google Slides has a variety of add-ons that can extend its functionality. To access add-ons, click on the "Add-ons" menu and select "Get add-ons." Browse through the options and install the add-ons that you need.
Design Principles: Making Your Slides Look Amazing
• Keep it Simple: Don't overcrowd your slides with too much text or too many images. Stick to one or two key points per slide. Use clear and concise language.
• Use Consistent Formatting: Use the same fonts, colors, and styles throughout your presentation. This will create a cohesive and professional look.
• Choose the Right Fonts: Use fonts that are easy to read from a distance. Avoid using fancy or decorative fonts. Stick to a maximum of two fonts per presentation.
• Use High-Quality Images: Use images that are high-resolution and relevant to your content. Avoid using blurry or pixelated images.
• Use White Space: Don't be afraid to leave some white space on your slides. White space can help to make your slides look less cluttered and more visually appealing.
By following these tips and techniques, you can create stunning presentations that will captivate your audience and help you achieve your goals. Remember, practice makes perfect, so don't be afraid to experiment and try new things. Now go out there and create some amazing presentations!
Frequently Asked Questions (FAQ)
• Q: How do I add a video to my Google Slides presentation?
A: Adding a video is simple! Go to "Insert" > Video.You can then search on You Tube or upload a video directly from your Google Drive. Make sure the video is relevant and enhances your message!
• Q: Can I collaborate with others on a Google Slides presentation in real-time?
A: Absolutely! Google Slides is designed for collaboration. Just click the "Share" button and invite collaborators via their email addresses. You can all work on the presentation simultaneously.
• Q: How can I make my presentation more interactive?
A: Try adding hyperlinks to different slides or external websites. You can also use the "Animate" feature to reveal content gradually, keeping your audience engaged.
• Q: Is Google Slides really free to use?
A: Yes, Google Slides is free for anyone with a Google account! It's part of the Google Workspace suite, making it accessible and budget-friendly.
Alright friends, let’s wrap things up! We've journeyed through the world of Google Slides, from the initial click to create a new presentation to the advanced techniques that make your slides sing. We've covered everything from choosing the right theme to animating objects, collaborating with colleagues, and delivering a presentation that leaves a lasting impression. You now have a roadmap to create compelling, engaging, and visually stunning presentations that will wow your audience. Remember, Google Slides is more than just a tool; it's your digital canvas, your storytelling platform, and your secret weapon for communication success.
Now, it's your turn. It's time to put your newfound knowledge into action. Open up Google Slides, create a new presentation, and start experimenting! Don't be afraid to try new things, make mistakes, and learn from them. The more you practice, the more confident and skilled you'll become. Think of your next presentation as an opportunity to showcase your creativity, your insights, and your passion. Use Google Slides to bring your ideas to life and connect with your audience on a deeper level.
I challenge you to create a presentation this week, even if you don’t have an immediate need for it. Play around with the features, try out different themes, and experiment with animations. Get comfortable with the interface and discover what works best for you. And most importantly, have fun! Presenting doesn't have to be a chore. It can be an opportunity to share your knowledge, inspire others, and make a difference.
So, go forth and create! Make your mark on the world, one slide at a time. I believe in you! What will you create today that will make a difference tomorrow?
Post a Comment for "Step-by-Step Guide to Using Google Slides for Presentations"
Post a Comment