Step-by-Step Guide to Using Google Slides for Presentations
Unlock Your Presentation Potential: A Step-by-Step Guide to Mastering Google Slides
Unlock Your Presentation Potential: A Step-by-Step Guide to Mastering Google Slides
Hey friends!
Ever been stuck staring at a blank Google Slides presentation, feeling like you're about to face a firing squad of glazed-over eyes? We've all been there. Maybe you're crafting a pitch for a new client, presenting quarterly results to your team, or even just trying to make your family vacation photos slightly less snooze-worthy. Whatever the occasion, the thought of creating a compelling presentation can be daunting. Let's face it: bad presentations are a form of torture, both for the presenter and the audience.
Think about the last time you were trapped in a presentation so boring it felt like you were watching paint dry. The monotonous drone of the speaker's voice, the endless bullet points, the clip art that looked like it crawled out of a 1998 Power Point template...shudders. We wouldn't want to inflict that on anyone, right? Especially not when Google Slides offers a surprisingly powerful and user-friendly platform to create presentations that actuallyengagepeople.
The truth is, most people only scratch the surface of what Google Slides can do. They stick to the basic templates, the same old fonts, and a few tired animations. But Google Slides is like a Swiss Army knife for presentations. With a little know-how, you can craft visually stunning, interactive, and downrightmemorablepresentations that will leave your audience impressed and informed. Forget feeling stressed; imagine feeling confident and maybe even a little excited to show off your hard work.
From collaborating seamlessly with your team to embedding videos and creating custom animations, Google Slides has got you covered. It’s more than just a presentation tool; it’s a storytelling engine. And let's be honest, everyone loves a good story, especially when it's presented in a visually appealing and engaging way.
So, are you ready to ditch the boring bullet points and unlock the full potential of Google Slides? Are you ready to transform your presentations from snooze-fests into captivating experiences? Stick around, because we're about to dive deep into a step-by-step guide that will turn you into a Google Slides guru. Trust me, by the end of this article, you'll be creating presentations that are so good, you might even startenjoyingthem. What are we waiting for? Let's get started!
Unlocking the Power of Google Slides: Your Step-by-Step Journey to Presentation Mastery
Alright, friends, let's roll up our sleeves and get to work! We're going to break down Google Slides into manageable steps, so you can go from presentation newbie to presentation pro in no time. Think of this as your personal Google Slides bootcamp, but without the yelling and push-ups (unless you're into that sort of thing).
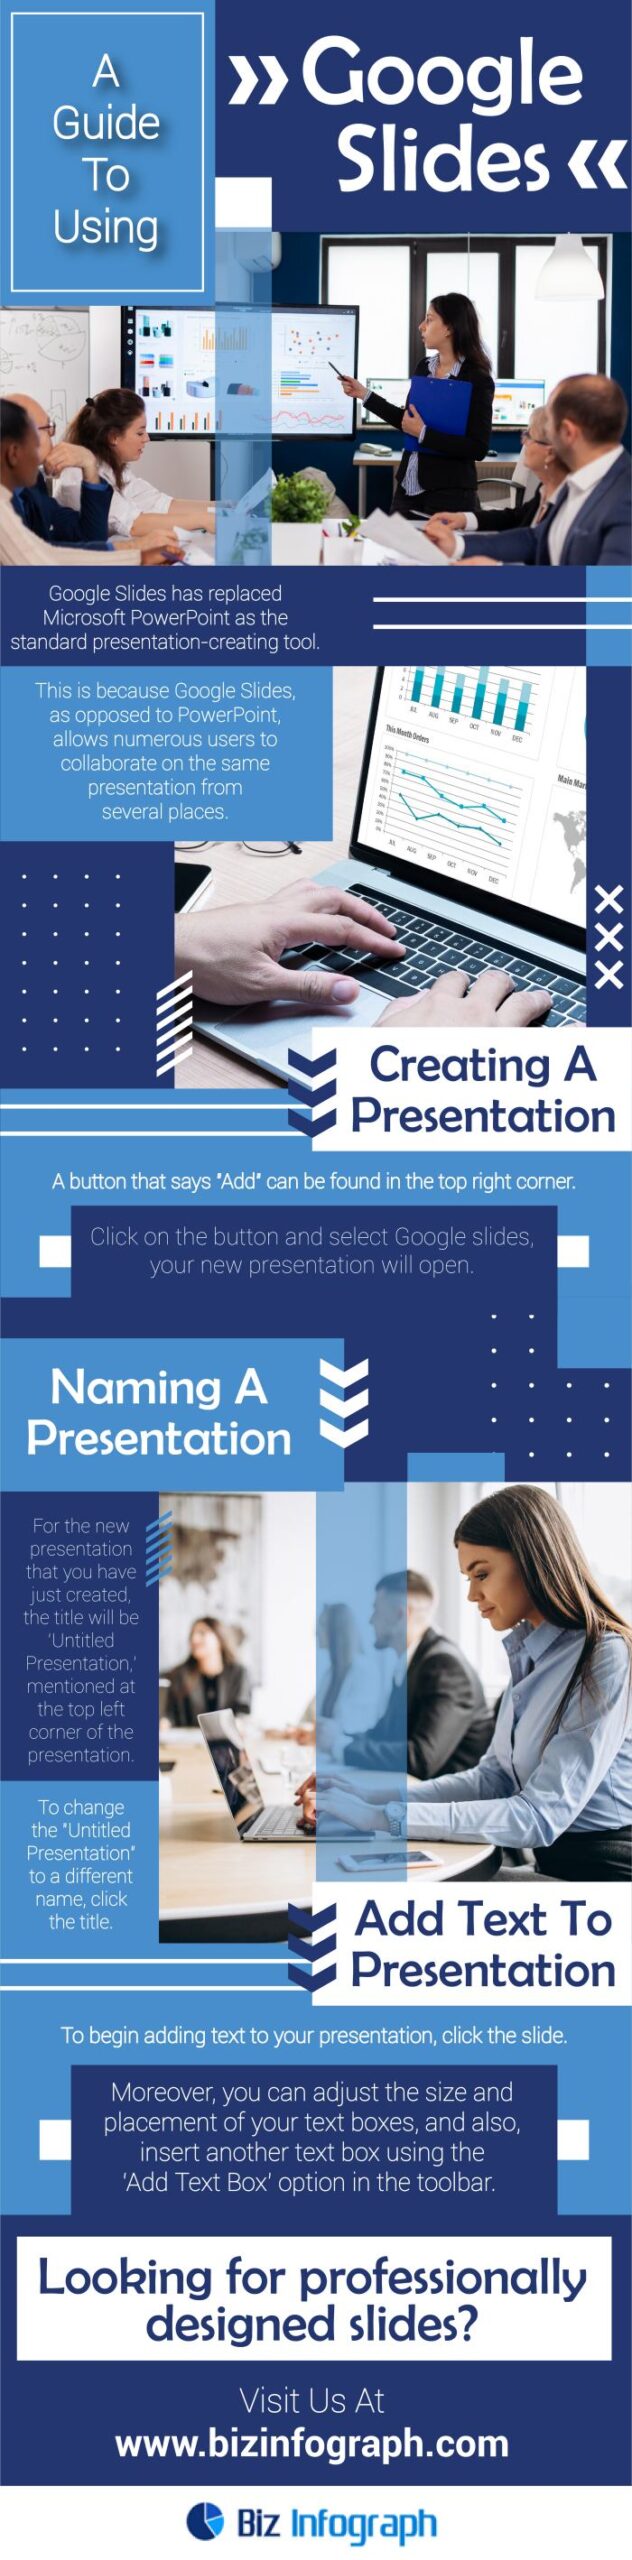
• Getting Started: Accessing Google Slides and Creating Your First Presentation
First things first, let's make sure you're all set up. You can access Google Slides in a few different ways. The easiest is probably by heading straight to slides.google.com. Alternatively, if you're already logged into your Google account, you can click on the Google Apps icon (the little grid of dots) in the upper right corner of your screen and select "Slides" from the menu. Boom! You're in.
Once you're there, you'll see a page with options to start a new presentation. You can choose a blank presentation to start from scratch, or you can browse the template gallery. Google offers a wide variety of templates, from basic business presentations to more creative and visually appealing designs. Don't be afraid to experiment and find a template that suits your style and the purpose of your presentation.
Choosing a template can be a great way to save time and get a head start on your design. However, remember that templates are just a starting point. Feel free to customize them to fit your specific needs and branding. After all, you want your presentation to stand out and reflect your unique personality.
• Mastering the Basics: Understanding the Google Slides Interface
Okay, you've created your first presentation! Now what? Let's take a quick tour of the Google Slides interface so you know where everything is. At the top of the screen, you'll find the menu bar with options like "File," "Edit," "View," "Insert," "Format," "Slide," "Arrange," "Tools," "Add-ons," and Help.Don't worry, you don't need to memorize everything right now. We'll cover the most important features as we go along.
Below the menu bar, you'll see the toolbar, which contains shortcuts to frequently used commands like adding a new slide, inserting text boxes, images, and shapes, changing the font and size, and adjusting the alignment. Spend a few minutes exploring the toolbar and getting familiar with the different icons. You'll be surprised how quickly you learn where everything is.
On the left side of the screen, you'll see the slide pane, which displays thumbnails of all the slides in your presentation. You can click on a thumbnail to select that slide and edit its content. You can also drag and drop slides to rearrange their order. This is a handy way to organize your presentation and make sure your ideas flow logically.
In the center of the screen, you'll see the main slide area, where you can add and edit the content of your current slide. This is where you'll spend most of your time creating your presentation. Experiment with different layouts, fonts, and colors to create visually appealing slides that capture your audience's attention.
• Adding and Formatting Making Your Words Pop
No presentation is complete without text! To add text to your slide, simply click on the "Text box" icon in the toolbar and drag your mouse to create a text box on the slide. Then, type your text into the box.
Once you've added your text, you can format it using the formatting options in the toolbar. You can change the font, size, color, and alignment of your text. You can also add bold, italic, and underline formatting. Experiment with different formatting options to create visually appealing text that is easy to read.
Here's a pro tip: Don't overload your slides with too much text. Keep your text concise and to the point. Use bullet points to break up long paragraphs and make your slides easier to scan. And remember to use a font that is easy to read from a distance. A good rule of thumb is to use a font size of at least 24 points for your main text.
• Inserting Images and Videos: Visual Aids for the Win
Images and videos can be powerful tools for engaging your audience and illustrating your points. Google Slides makes it easy to insert images and videos into your presentation.
To insert an image, click on the "Insert" menu and select Image.You can upload an image from your computer, search for an image on the web, or insert an image from your Google Drive or Google Photos account. Once you've inserted an image, you can resize it, move it around, and even add borders and shadows.
To insert a video, click on the "Insert" menu and select Video.You can search for a video on You Tube or upload a video from your Google Drive account. Once you've inserted a video, you can resize it, move it around, and even set it to play automatically when the slide is displayed.
Remember to use high-quality images and videos that are relevant to your presentation. Avoid using blurry or pixelated images, as they can distract your audience. And be sure to credit your sources if you're using images or videos that you didn't create yourself.
• Adding Charts and Diagrams: Visualizing Your Data
If you're presenting data, charts and diagrams can be a great way to visualize your information and make it easier for your audience to understand. Google Slides offers a variety of chart and diagram options to choose from.
To insert a chart, click on the "Insert" menu and select Chart.You can choose from different types of charts, such as bar charts, line charts, pie charts, and scatter plots. Once you've inserted a chart, you can customize its data, colors, and labels to match your presentation's style.
To insert a diagram, click on the "Insert" menu and select Diagram.You can choose from different types of diagrams, such as process diagrams, hierarchy diagrams, and timeline diagrams. Once you've inserted a diagram, you can customize its shapes, colors, and text to illustrate your points.
When creating charts and diagrams, make sure they are clear, concise, and easy to understand. Use labels and legends to explain what the data represents. And avoid cluttering your charts with too much information. The goal is to make your data more accessible and engaging for your audience.
• Animations and Transitions: Adding a Touch of Magic
Animations and transitions can add a touch of magic to your presentation and make it more engaging for your audience. Google Slides offers a variety of animations and transitions to choose from.
To add an animation to an object on your slide, select the object and click on the "Animate" button in the toolbar. You can choose from different types of animations, such as fade in, fade out, fly in, and fly out. You can also customize the speed and direction of the animation.
To add a transition between slides, click on the "Transition" button in the toolbar. You can choose from different types of transitions, such as fade, slide, flip, and cube. You can also customize the speed and direction of the transition.
Use animations and transitions sparingly and strategically. Too many animations and transitions can be distracting and overwhelming for your audience. The goal is to enhance your presentation, not to detract from it. Use animations to highlight key points and transitions to create a smooth flow between slides.
• Collaborating with Others: Teamwork Makes the Dream Work
One of the best things about Google Slides is that it makes it easy to collaborate with others on your presentation. You can share your presentation with others and allow them to view, comment on, or edit your slides.
To share your presentation, click on the "Share" button in the upper right corner of the screen. You can enter the email addresses of the people you want to share your presentation with, or you can create a shareable link that you can send to anyone.
When sharing your presentation, you can choose the level of access you want to grant to others. You can allow them to view only, comment on, or edit your slides. If you're working on a presentation with a team, it's usually best to grant everyone edit access so they can contribute to the content.
Collaborating on Google Slides is a great way to get feedback from others and ensure that your presentation is clear, concise, and engaging.
• Presenting Your Slides: Show Time!
Alright, you've created your masterpiece! Now it's time to present your slides to the world (or at least to your colleagues). Google Slides offers a few different ways to present your slides.
To start your presentation, click on the "Present" button in the upper right corner of the screen. This will put your presentation into full-screen mode and allow you to advance through the slides using the arrow keys on your keyboard or the on-screen controls.
If you're presenting remotely, you can use Google Meet or another video conferencing platform to share your screen and present your slides to your audience. Be sure to test your setup beforehand to make sure everything is working properly.
During your presentation, remember to speak clearly and enthusiastically. Engage with your audience and make eye contact. And don't be afraid to be yourself and let your personality shine through.
• Practice Makes Perfect: Tips for a Successful Presentation
Okay, friends, we've covered the basics of using Google Slides. But creating a great presentation is only half the battle. You also need to deliver it effectively.
• Practice, practice, practice! The more you practice your presentation, the more comfortable and confident you'll feel. Rehearse in front of a mirror, record yourself, or present to a friend or colleague and ask for feedback. This practice ensures you can confidently deliver the content, no matter the circumstance.
• Know your audience. Tailor your presentation to the interests and needs of your audience. What are they hoping to learn? What are their pain points? Speak to their concerns and provide them with valuable insights.
• Keep it simple. Don't overload your slides with too much information. Focus on the key takeaways and use visuals to support your points. Clarity is key to a captivating presentation.
• Engage with your audience. Ask questions, tell stories, and encourage participation. Make your presentation interactive and keep your audience involved. No one wants to sit through a lecture, so make it a conversation!
• Be yourself. Let your personality shine through and don't be afraid to be authentic. People connect with genuine speakers who are passionate about their topic.
Frequently Asked Questions About Google Slides
Let's tackle some common questions about Google Slides.
Question 1: Can I use Google Slides offline?
Answer: Yes! You can enable offline access in your Google Drive settings, which will allow you to view and edit your presentations even when you're not connected to the internet. Just make sure you set it up beforehand!
Question 2: How can I embed a Google Slides presentation on my website?
Answer: Easy peasy! Open your presentation in Google Slides, go to File > Publish to the web, select the embed option, and copy the HTML code. Then, paste the code into your website's HTML.
Question 3: Is Google Slides really free?
Answer: Absolutely! Google Slides is part of the Google Workspace suite, which is free for personal use. If you're using it for business, there are paid plans that offer additional features and storage.
Question 4: How do I add speaker notes to my Google Slides presentation?
Answer: Simply click on the "Click to add speaker notes" area below the slide in the editing view. Type your notes there, and they'll be visible to you in presenter view, but not to your audience.
Wrapping It Up: Go Forth and Present!
Well, friends, we've reached the end of our Google Slides journey. We've covered everything from the basics of getting started to the finer points of animations, collaboration, and presentation delivery. Hopefully, you now feel equipped to create stunning and engaging presentations that will wow your audience.
Remember, the key to a great presentation is not just the slides themselves, but also the way you deliver them. Practice your presentation, know your audience, and let your personality shine through. Don't be afraid to experiment and try new things. The more you use Google Slides, the more comfortable and confident you'll become.
So, what are you waiting for? It's time to put your newfound knowledge into practice and create your next masterpiece! Go forth and present with confidence! Let's get started today!
Now that you're armed with this knowledge, what presentation are you most excited to create first?
Post a Comment for "Step-by-Step Guide to Using Google Slides for Presentations"
Post a Comment