Step-by-Step Guide to Using Google Slides for Presentations
Unlock Presentation Power: A Step-by-Step Guide to Google Slides Mastery
Hey there, presentation pals! Ever felt that sinking feeling when you’re about to present and your slides look like they were designed by a committee of sleepwalking hamsters? We’ve all been there. Maybe you've stared blankly at Power Point, feeling like you're navigating a spaceship console with a toddler's instruction manual. Or perhaps you've tried to spice things up with wacky animations, only to end up with a slide deck that resembles a circus act gone wrong. Presentations are tough, aren’t they? You have to condense complex information into digestible visuals, deliver it with confidence (even when your palms are sweating), and, most importantly, keep your audience awake! It’s like juggling chainsaws while riding a unicycle – impressive if you pull it off, disastrous if you don’t.
Think about it: how many presentations have you sat through that were, well, less than stellar? Slides crammed with text, speakers droning on and on, and designs that look like they were ripped from a Geocities website in 1998. It's enough to make anyone reach for the emergency exit! In today's fast-paced world, where attention spans are shorter than ever, you need to create presentations that grab your audience's attention and hold it tight. You need to tell a story, not just recite bullet points. You need visuals that pop, not bore. You need to deliver a presentation so compelling that people actually remember what you said.
But here's the good news: creating amazing presentations doesn't have to be a Herculean task. And you don’t need to be a graphic design guru or a tech wizard to do it. In fact, one of the most powerful presentation tools is probably already at your fingertips: Google Slides. That's right, the unsung hero of the Google Workspace suite is a goldmine of features, templates, and collaboration tools that can transform your presentations from snooze-fests into engaging experiences. We are talking about visually stunning slideshows that will leave a lasting impression.
Google Slides, unlike its desktop-bound counterparts, lives in the cloud. This means you can access your presentations from anywhere, collaborate with team members in real-time, and never have to worry about losing your work to a dreaded hard drive crash. It's also incredibly user-friendly, with a clean interface and a wealth of resources to help you get started. Plus, it's free! Who doesn't love free?
But here's the kicker: simply knowing Google Slides exists isn't enough. You need to understand how to wield its power effectively. You need to know how to choose the right templates, craft compelling content, add eye-catching visuals, and deliver your presentation with confidence. You need to transform from a slideshow stumbler into a presentation pro.
So, are you ready to ditch the dull decks and unleash the power of Google Slides? Are you ready to create presentations that captivate, persuade, and leave your audience wanting more? If so, buckle up, because we're about to embark on a step-by-step journey to Google Slides mastery. Get ready to transform your presentation game and make those snooze-fests a thing of the past! But first, let's take a look at the fundamentals.
Getting Started with Google Slides: Your Foundation for Success
Before we dive into the nitty-gritty details, let's lay the groundwork with some essential setup steps. Think of this as building a solid foundation for your presentation masterpiece.
• Accessing Google Slides:
First things first, you need to access Google Slides. If you have a Google account (and who doesn't these days?), you're already halfway there! Simply head over to the Google Slides website (slides.google.com) or access it through your Google Drive. Boom! You're in.
• Creating a New Presentation:
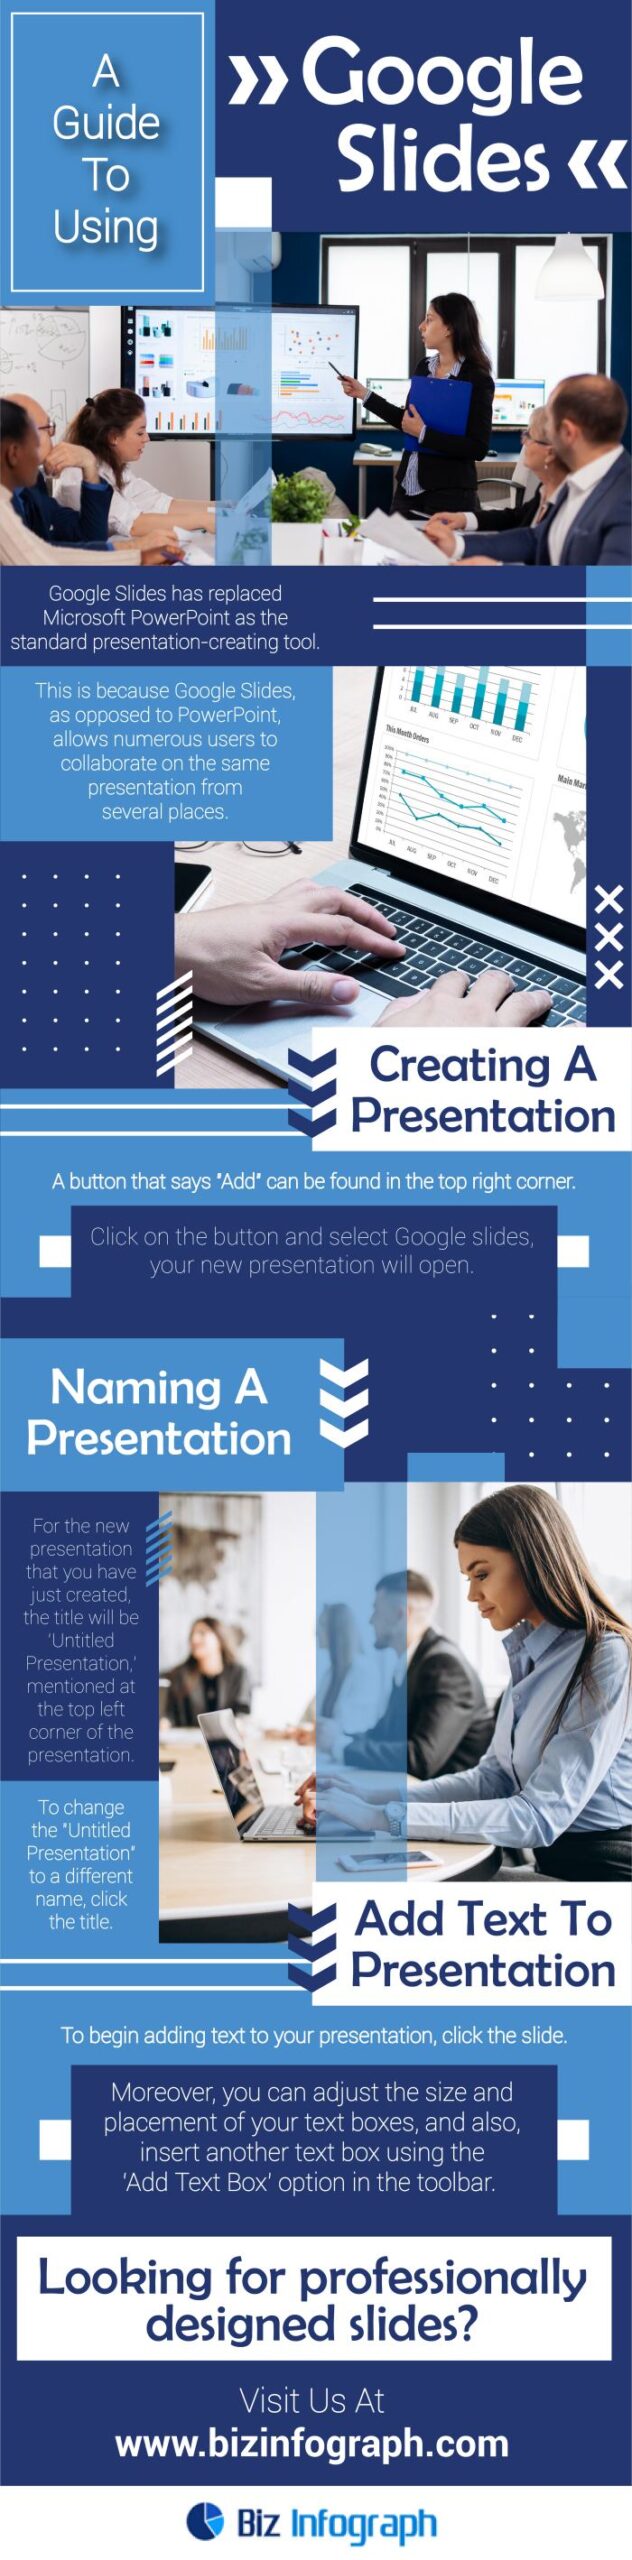
Once you're in Google Slides, you'll see a tempting array of options. To start a new presentation, click on the big, inviting "+ Blank" button. You can also choose from a variety of pre-designed templates, which can save you a ton of time and effort. But for now, let's start with a blank canvas.
• Familiarizing Yourself with the Interface:
Take a moment to explore the Google Slides interface. You'll find the menu bar at the top, packed with options for file management, editing, formatting, and more. Below that is the toolbar, which provides quick access to commonly used tools like text boxes, shapes, images, and animations. On the left side, you'll see the slide navigator, which allows you to easily switch between slides. And in the center, of course, is your slide itself, ready to be filled with your brilliant ideas.
• Understanding Slide Layouts:
Google Slides offers a variety of pre-defined slide layouts to help you structure your content. To choose a layout, right-click on your slide and select "Apply layout." You'll find options like "Title Slide," "Title and Body," "Section Header," and more. Experiment with different layouts to find the ones that best suit your needs.
• Saving Your Presentation:
This might seem obvious, but it's crucial to save your presentation early and often! Google Slides automatically saves your work to the cloud, but it's always a good idea to give your presentation a meaningful name. To do this, simply click on "Untitled presentation" at the top left corner and enter a name.
Crafting Compelling Content: Turning Ideas into Engaging Slides
Now that you've got your blank canvas ready, it's time to fill it with compelling content that will captivate your audience. But remember, less is more! Your slides should be visually appealing and easy to digest, not crammed with endless walls of text.
• Defining Your Presentation's Purpose:
Before you start creating slides, take a step back and define the purpose of your presentation. What message do you want to convey? What do you want your audience to remember? Answering these questions will help you stay focused and create a presentation that is both informative and engaging.
• Structuring Your Content:
Organize your content into a logical flow. Start with an introduction that grabs your audience's attention and outlines the key topics you'll be covering. Then, present your main points in a clear and concise manner, using visuals to illustrate your ideas. Finally, conclude with a summary of your key takeaways and a call to action.
• Using Headings and Subheadings:
Break up your text with headings and subheadings to make your slides easier to read. Use clear and descriptive headings that accurately reflect the content of each section. This will help your audience quickly grasp the main points of your presentation.
• Keeping Text Concise:
Resist the urge to cram your slides with text. Aim for short, punchy sentences that get straight to the point. Use bullet points to highlight key information and avoid long paragraphs of text. Remember, your slides are meant to complement your spoken words, not replace them.
• Choosing Readable Fonts:
Select fonts that are easy to read from a distance. Avoid overly decorative fonts that can be distracting and difficult to decipher. Stick to simple, sans-serif fonts like Arial, Helvetica, or Open Sans for body text, and use slightly larger fonts for headings. And remember to use consistent font styles throughout your presentation.
• Incorporating Visuals:
Visuals are your secret weapon for engaging your audience. Use images, charts, graphs, and videos to illustrate your points and make your presentation more memorable. Choose high-quality visuals that are relevant to your content and avoid using generic stock photos that look out of place.
Adding Visual Flair: Making Your Slides Pop
Now that you've got your content in place, it's time to add some visual flair to make your slides truly stand out. This is where you can unleash your creativity and transform your presentation from a wall of text into a visually stunning experience.
• Choosing a Theme:
Google Slides offers a variety of pre-designed themes that can instantly transform the look and feel of your presentation. To choose a theme, click on "Theme" in the toolbar. Browse through the available options and select one that aligns with your brand and the overall tone of your presentation.
• Customizing Your Background:
You can also customize the background of your slides to create a unique and visually appealing look. To change the background, right-click on your slide and select "Change background." You can choose a solid color, a gradient, or even upload your own image.
• Inserting Images:
Images can add a powerful visual element to your slides. To insert an image, click on the "Insert image" icon in the toolbar. You can upload images from your computer, search the web for images, or even use images from your Google Drive or Google Photos.
• Using Shapes and Icons:
Shapes and icons can be used to highlight key information, create visual interest, and add a touch of personality to your slides. To insert a shape or icon, click on the "Insert shape" or "Insert icon" icon in the toolbar. You can customize the color, size, and position of your shapes and icons to create a unique look.
• Adding Charts and Graphs:
Charts and graphs are a great way to visualize data and make complex information easier to understand. To insert a chart or graph, click on the "Insert chart" icon in the toolbar. You can choose from a variety of chart types, including bar charts, pie charts, line graphs, and more.
• Incorporating Videos:
Videos can add a dynamic and engaging element to your presentation. To insert a video, click on the "Insert video" icon in the toolbar. You can search for videos on You Tube, upload videos from your computer, or embed videos from other websites.
Mastering Animations and Transitions: Adding Movement and Polish
Animations and transitions can add a touch of movement and polish to your presentation, making it more engaging and visually appealing. But be careful not to overdo it! Too many animations and transitions can be distracting and even nauseating.
• Adding Slide Transitions:
Slide transitions are the visual effects that occur when you move from one slide to the next. To add a slide transition, click on "Transition" in the toolbar. You can choose from a variety of transitions, including fade, slide, flip, and cube.
• Animating Text and Objects:
Animations can be used to reveal text and objects on your slides in a controlled and engaging manner. To animate text or an object, select it and click on "Animate" in the toolbar. You can choose from a variety of animations, including fade in, fly in, zoom in, and spin.
• Using Animations Sparingly:
As mentioned earlier, it's important to use animations sparingly. Overusing animations can be distracting and can even make your presentation look unprofessional. Stick to subtle animations that enhance your message without overwhelming your audience.
• Timing Your Animations:
Pay attention to the timing of your animations. Make sure that your animations are not too fast or too slow. The goal is to reveal information at a pace that is comfortable for your audience to follow.
Collaborating with Others: Working Together on Your Presentation
One of the great things about Google Slides is that it allows you to collaborate with others in real-time. This is especially useful when you're working on a presentation with a team.
• Sharing Your Presentation:
To share your presentation, click on the "Share" button in the top right corner. You can choose to share your presentation with specific people or with anyone who has the link. You can also set permissions to allow others to view, comment, or edit your presentation.
• Collaborating in Real-Time:
When you share your presentation with others, you can collaborate in real-time. This means that you can see each other's changes as they are being made. You can also use the chat feature to communicate with your collaborators.
• Leaving Comments:
You can leave comments on specific slides or objects to provide feedback or ask questions. To leave a comment, right-click on the slide or object and select Comment.• Reviewing Changes:
Google Slides keeps track of all the changes that have been made to your presentation. You can review these changes by clicking on "File" and selecting "Version history."
Presenting Like a Pro: Delivering a Captivating Performance
You've created a stunning presentation, now it's time to deliver it like a pro. Here are some tips to help you nail your presentation:
• Practicing Your Delivery:
The most important thing you can do to prepare for your presentation is to practice, practice, practice! Rehearse your delivery until you feel comfortable and confident. Pay attention to your pace, tone, and body language.
• Using Presenter View:
Google Slides offers a presenter view that allows you to see your notes, the next slide, and the elapsed time. To access presenter view, click on the "Present" button and select "Presenter view."
• Engaging with Your Audience:
Make eye contact with your audience and smile. Speak clearly and confidently, and use a conversational tone. Ask questions to engage your audience and encourage participation.
• Handling Questions:
Be prepared to answer questions from your audience. Listen carefully to each question and take a moment to formulate your answer. If you don't know the answer, it's okay to say so. You can always offer to follow up later with more information.
• Staying Calm and Confident:
It's normal to feel nervous before a presentation, but try to stay calm and confident. Take deep breaths, focus on your message, and remember that you've got this!
Google Slides Tips and Tricks: Leveling Up Your Skills
Ready to take your Google Slides skills to the next level? Here are a few tips and tricks that will help you create even more impressive presentations:
• Using Keyboard Shortcuts:
Learn the keyboard shortcuts for commonly used actions like copying and pasting, formatting text, and inserting objects. This will save you time and make you more efficient.
• Embedding External Content:
You can embed external content like Google Maps, You Tube videos, and interactive quizzes directly into your slides. This can add a dynamic and engaging element to your presentation.
• Creating Custom Templates:
Create your own custom templates to save time and ensure consistency across your presentations. You can save your templates to your Google Drive and reuse them whenever you need them.
• Using Add-ons:
Google Slides offers a variety of add-ons that can extend its functionality. These add-ons can help you with tasks like creating infographics, generating QR codes, and more.
• Exploring the Explore Feature:
The "Explore" feature in Google Slides can provide you with suggestions for layouts, images, and content based on your existing slides. This can be a great way to get inspiration and improve your presentation.
Real-World Examples of Effective Google Slides Presentations
To illustrate the power of Google Slides, let's take a look at some real-world examples of effective presentations:
• Marketing Presentations:
Many marketing teams use Google Slides to create visually appealing presentations that showcase their products, services, and marketing campaigns. These presentations often include compelling images, data visualizations, and persuasive messaging.
• Sales Presentations:
Sales professionals use Google Slides to create presentations that highlight the benefits of their products or services and persuade potential customers to buy. These presentations often include testimonials, case studies, and pricing information.
• Educational Presentations:
Teachers and professors use Google Slides to create engaging and informative presentations for their students. These presentations often include interactive elements, quizzes, and multimedia content.
• Training Presentations:
Companies use Google Slides to create training presentations for their employees. These presentations often include step-by-step instructions, diagrams, and quizzes.
Troubleshooting Common Google Slides Issues
Even with the best planning, you may encounter some issues when using Google Slides. Here are some common problems and how to troubleshoot them:
• Images Not Displaying:
If your images are not displaying properly, make sure that they are in a supported format (e.g., JPG, PNG, GIF) and that they are not too large. Also, check your internet connection to make sure that you are able to download the images.
• Fonts Not Rendering Correctly:
If your fonts are not rendering correctly, try using a different font or embedding the font in your presentation.
• Animations Not Working:
If your animations are not working, make sure that they are properly configured and that they are not conflicting with other animations.
• Collaboration Issues:
If you are having trouble collaborating with others, make sure that you have shared your presentation with the correct permissions and that your collaborators have a stable internet connection.
Frequently Asked Questions about Google Slides
Here are some frequently asked questions about Google Slides:
• Can I use Google Slides offline?
Yes, you can use Google Slides offline by enabling offline access in your Google Drive settings.
• How do I convert a Power Point presentation to Google Slides?
You can convert a Power Point presentation to Google Slides by uploading it to your Google Drive and opening it with Google Slides.
• Can I embed a Google Slides presentation on my website?
Yes, you can embed a Google Slides presentation on your website by clicking on "File," selecting "Publish to the web," and copying the embed code.
• Is Google Slides secure?
Google Slides is a secure platform that uses industry-standard security measures to protect your data.
In summary, Google Slides is a powerful and versatile presentation tool that can help you create engaging and informative presentations. By following the steps outlined in this guide, you can master Google Slides and transform your presentation game. Now that you're armed with this knowledge, it's time to put it into practice! Create a new presentation, experiment with different features, and unleash your creativity. The possibilities are endless! So, go forth and create presentations that captivate, persuade, and leave a lasting impression. Are you ready to become a Google Slides master?
Post a Comment for "Step-by-Step Guide to Using Google Slides for Presentations"
Post a Comment