Step-by-Step Guide to Using Google Slides for Presentations
Level Up Your Presentation Game: A Step-by-Step Guide to Google Slides Domination!
Google Slides: Your Gateway to Killer Presentations
Hey friends! Ever feel like your presentations are falling flat? Like you're talking to a brick wall instead of an engaged audience? We've all been there. You pour your heart and soul into gathering information, crafting compelling arguments, and then… crickets. The problem isn't necessarily your content; it's how you present it. That's where Google Slides swoops in to save the day!
Think of Google Slides as your digital canvas, a place where you can transform dull data into visually stunning stories. It's not just about slapping some text on a screen (although, let's be honest, we've all done that!). It's about crafting an experience, guiding your audience through your ideas with clarity and style. In a world drowning in information, a well-designed presentation can be the difference between being heard and being ignored.
We're living in the age of visual communication. Studies show that presentations with visuals are 43% more persuasive than those without. People are inherently visual creatures, and Google Slides lets you tap into that power. Forget boring bullet points – we're talking captivating images, dynamic charts, and even embedded videos! Imagine turning a dry financial report into an engaging narrative with compelling visuals that illustrate key trends. Suddenly, those numbers aren't just numbers; they're a story.
But here’s the thing: simply knowing Google Slides exists isn't enough. You need to know how to wield its power effectively. It's not enough to just throw some text and images on a screen and hope for the best. You need to understand the features, the design principles, and the presentation techniques that will truly make your message resonate. You need to master the art of Google Slides. That's where we come in!
Think of this guide as your personal Google Slides guru, walking you through everything you need to know to create presentations that not only inform but also inspire. We're going beyond the basics and diving into the nitty-gritty, sharing tips and tricks that will transform you from a Google Slides novice to a presentation pro. Forget struggling with complicated software and confusing menus. We'll break it down step-by-step, making it easy for anyone to create stunning presentations, regardless of their technical skills. Whether you’re pitching a groundbreaking idea to investors, presenting your quarterly results to the team, or even just sharing vacation photos with your family, Google Slides can elevate your storytelling. From choosing the perfect theme to adding engaging animations, we’ll cover it all. Ready to unlock the full potential of Google Slides and become a presentation powerhouse? Let’s get started!
Unleash Your Inner Presentation Designer: A Comprehensive Guide to Google Slides
Alright friends, let’s dive into the awesome world of Google Slides and unlock its full potential. No more boring presentations – we’re about to level up your game! This guide is packed with insider tips and tricks to help you create visually stunning and engaging presentations that will leave your audience wanting more. Let’s get started!
• Getting Started: Setting the Stage for Success
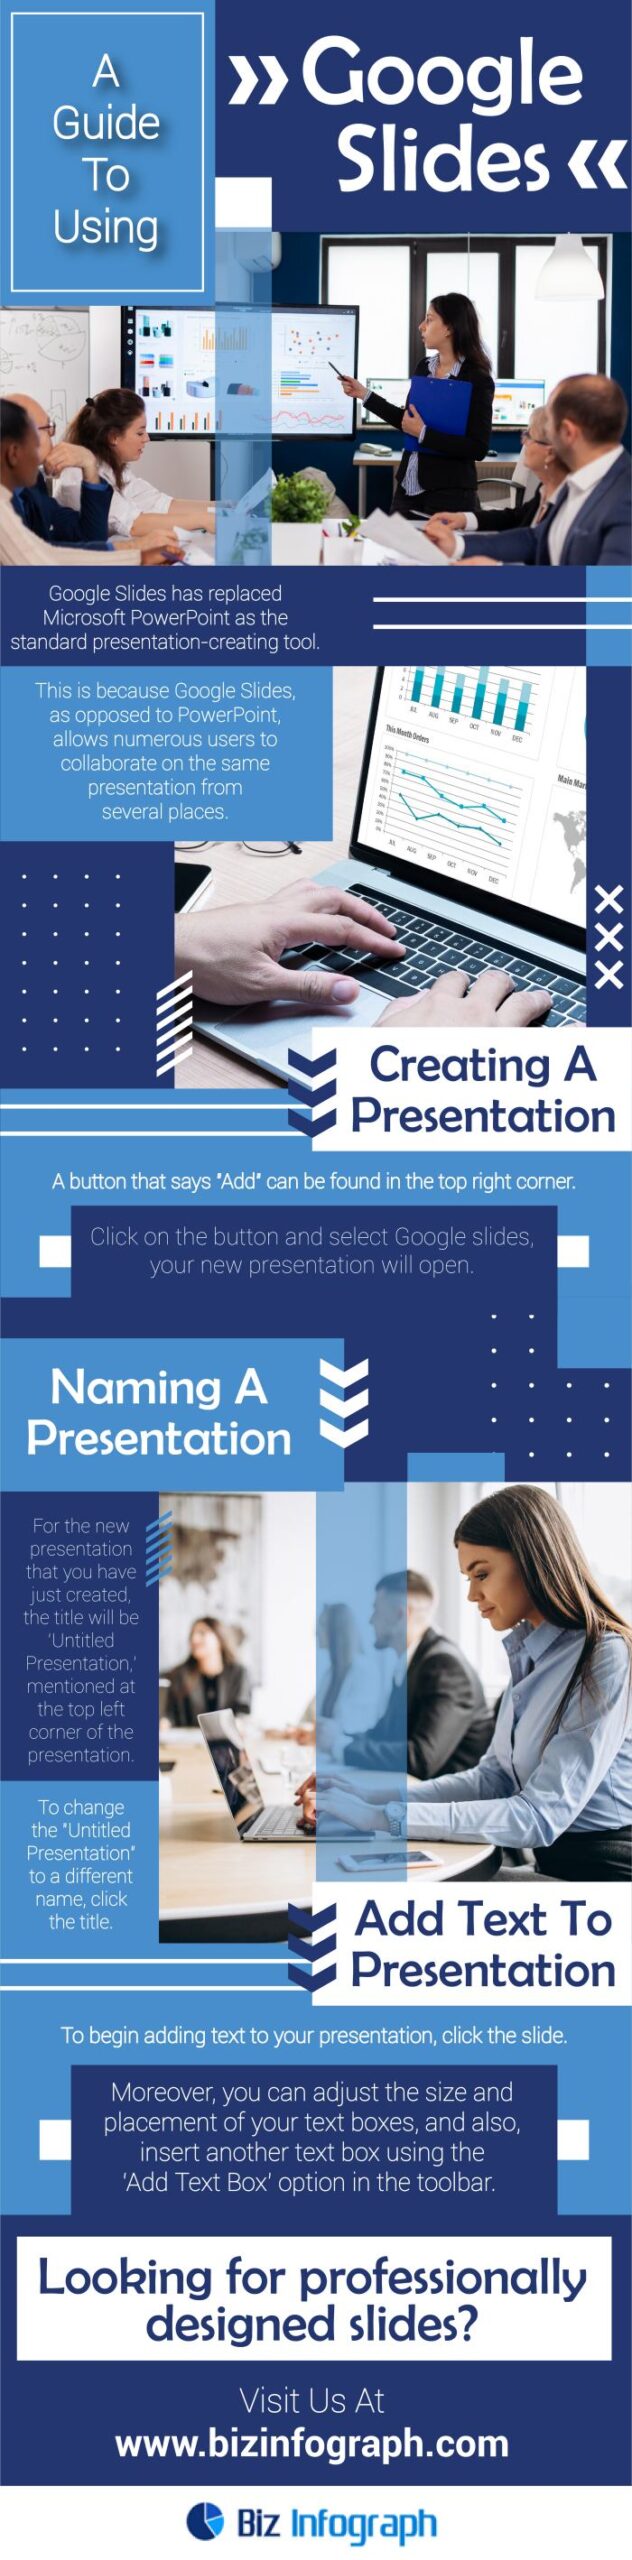
First things first, you need to access Google Slides. If you have a Google account (and let's be honest, who doesn't these days?), you're already halfway there! Simply head to your Google Drive, click on the "+ New" button, select "Google Slides," and bam! You're ready to start creating. If you don’t have Google Account, just go to google and sign up to get one.
• Choosing a Theme: Think of themes as the foundation of your presentation. They set the tone and style, so choose wisely! Google Slides offers a variety of pre-designed themes that you can easily customize. To browse themes, click on "Theme" in the toolbar. Don't be afraid to experiment until you find one that resonates with your message and brand.
• Customizing Your Theme: The beauty of Google Slides is its flexibility. You're not stuck with the default theme settings. You can tweak colors, fonts, and backgrounds to create a unique look and feel. Click on "Theme" again, then select "Customize" to access advanced options. Play around with the different settings until you achieve your desired aesthetic.
• Mastering the Basics: Adding Content and Structure
Now that you've set the stage, it's time to populate your slides with content. This is where you bring your message to life!
• Adding Click on the "Text box" icon in the toolbar (it looks like a "T") and drag to create a text box on your slide. Type in your text and format it using the font, size, and color options in the toolbar. Remember, less is more! Keep your text concise and easy to read.
• Inserting Images: A picture is worth a thousand words, right? Add images to your slides to illustrate your points and make them more visually appealing. Click on the "Insert" menu, then select Image.You can upload images from your computer, search the web, or even pull them from your Google Drive or Photos.
• Working with Shapes and Lines: Shapes and lines can add visual interest and help you organize your content. Click on the "Shape" or "Line" icon in the toolbar to insert various shapes and lines onto your slides. You can customize their colors, sizes, and positions to create unique designs.
• Creating Charts and Graphs: Presenting data? Google Slides makes it easy to create visually appealing charts and graphs. Click on the "Insert" menu, then select Chart.Choose from a variety of chart types, such as bar charts, pie charts, and line graphs, to best represent your data. You can then link your chart to a Google Sheet for easy data updates.
• Arranging and Layering Elements: Sometimes, you'll need to layer elements on top of each other to achieve a certain effect. To change the order of elements, right-click on the element you want to move, then select Order.You can bring it to the front, send it to the back, or move it forward or backward one layer at a time.
• Adding Pizzazz: Animations and Transitions
Want to take your presentations to the next level? Animations and transitions can add that extra touch of polish and engagement.
• Slide Transitions: Transitions are the visual effects that occur when you move from one slide to the next. To add a transition, click on "Transition" in the toolbar. Choose from a variety of transitions, such as "Fade," "Slide from left," or Cube.Adjust the speed and direction of the transition to suit your style.
• Object Animations: Animations allow you to bring individual elements on your slides to life. To add an animation, select the element you want to animate, then click on "Animate" in the toolbar. Choose from a variety of animations, such as "Appear," "Fly in," or Zoom.You can also control the timing and trigger of the animation.
• Collaboration and Sharing: Teamwork Makes the Dream Work
Google Slides is designed for collaboration. You can easily share your presentations with others and work on them together in real-time.
• Sharing with Others: Click on the "Share" button in the top right corner of the screen. Enter the email addresses of the people you want to share with and choose their permission level (can edit, can comment, or can view). You can also generate a shareable link and send it to anyone.
• Real-time Collaboration: When multiple people are working on the same presentation, you'll see their cursors moving around in real-time. This makes it easy to collaborate and provide feedback. You can also use the built-in chat feature to communicate with your collaborators.
• Version History: Made a mistake? No problem! Google Slides automatically saves your work and keeps track of version history. To view previous versions of your presentation, click on "File," then select "Version history." You can then revert to any previous version.
• Presentation Tips and Tricks: From Good to Great
Now that you know the basics, let's talk about some advanced tips and tricks that will help you create truly exceptional presentations.
• Keep it Simple: Don't overload your slides with too much information. Use visuals to illustrate your points and keep your text concise and easy to read. Remember, your slides are meant to support your presentation, not replace it.
• Use High-Quality Images: Avoid using pixelated or blurry images. Use high-resolution images that are relevant to your message. There are many free stock photo websites where you can find high-quality images.
• Choose the Right Fonts: Select fonts that are easy to read and visually appealing. Stick to a maximum of two or three fonts per presentation. Use different font sizes and styles to create hierarchy and emphasis.
• Use Color Wisely: Use color to create visual interest and highlight key information. Choose a color palette that is consistent with your brand and message. Be mindful of contrast and readability.
• Practice Your Presentation: The best way to deliver a confident and engaging presentation is to practice! Rehearse your presentation multiple times until you feel comfortable with the material. Time yourself to ensure you stay within the allotted time.
• Engage Your Audience: Don't just read off your slides. Make eye contact with your audience, ask questions, and encourage participation. Tell stories and use humor to keep your audience engaged.
• Advanced Features: Leveling Up Your Skills
Ready to take your Google Slides skills to the next level? Let’s explore some advanced features that can really make your presentations stand out.
• Master Slides: Master slides are like templates for your presentation. They allow you to define the overall design and layout of your slides. To access master slides, click on "View," then select Master.Any changes you make to the master slides will be reflected on all of the slides in your presentation.
• Speaker Notes: Speaker notes are private notes that only you can see while you're presenting. They can help you remember key points, talking points, or even jokes! To add speaker notes, click on "View," then select "Show speaker notes." Type your notes in the space provided below each slide.
• Presenter View: Presenter view gives you access to additional tools and information while you're presenting. It shows you your speaker notes, a timer, and a preview of the next slide. To use presenter view, click on the "Present" button, then select "Presenter view."
• Interactive Elements: Make your presentations more interactive by adding quizzes, polls, or even games! You can use third-party apps or create your own interactive elements using Google Forms or other tools.
• Embedding Content: Embed videos, maps, or even entire websites into your Google Slides presentations. This allows you to add dynamic content and keep your audience engaged.
• Troubleshooting Common Issues: When Things Go Wrong
Even with the best planning, things can sometimes go wrong during a presentation. Here are some common issues and how to fix them.
• Font Issues: If your fonts look different on different computers, it's likely because the fonts are not installed on all of the computers. To avoid this issue, use standard fonts that are widely available, such as Arial, Times New Roman, or Calibri. You can also embed your fonts in the presentation file.
• Image Issues: If your images look blurry or pixelated, it's likely because they are not high-resolution. Use high-resolution images and avoid resizing them too much. You can also compress your images to reduce the file size of your presentation.
• Animation Issues: If your animations are not working correctly, it's likely because there is a conflict between the animations. Try simplifying your animations or removing any conflicting animations.
• Connection Issues: If you're presenting online, make sure you have a stable internet connection. A weak connection can cause your presentation to lag or even disconnect.
Frequently Asked Questions About Google Slides
Here are some frequently asked questions about Google Slides to further clarify any doubts you might have:
Question 1: Can I use Google Slides offline?
Answer: Yes! You can enable offline access in your Google Drive settings to work on your presentations even when you don't have an internet connection. Any changes you make will be synced when you reconnect.
Question 2: How do I add a video to my Google Slides presentation?
Answer: Simply go to "Insert" > Video.You can then search for a video on You Tube, paste a video URL, or upload a video from your Google Drive.
Question 3: Is Google Slides compatible with Power Point?
Answer: Yes, Google Slides can open and edit Power Point files. You can also save your Google Slides presentations as Power Point files for compatibility.
Question 4: How do I make my Google Slides presentation interactive?
Answer: There are several ways! You can embed polls using tools like Mentimeter, add quizzes with Google Forms, or even link to interactive websites within your presentation.
Your Presentation Revolution Starts Now!
Well friends, we've reached the end of our Google Slides journey. We've covered everything from the basics of creating a presentation to advanced techniques for making your slides shine. Remember, the key to a great presentation isn't just about the software you use, but how you use it. Take the time to experiment, practice, and find your own style. The world of presentation design is vast and exciting, and Google Slides is your vehicle to explore it. You now have the knowledge and tools to create engaging, informative, and visually stunning presentations that will captivate your audience.
Now, it's time to put your newfound knowledge into practice! Create a presentation on a topic you're passionate about, using the tips and tricks you've learned in this guide. Share it with your friends, colleagues, or even present it at your next meeting. The more you practice, the better you'll become. And who knows, you might even inspire others to step up their presentation game too! So, go forth and create presentations that not only inform but also inspire, persuade, and entertain. The stage is set, the spotlight is on you – what story will you tell?
Ready to transform your presentations from mediocre to magnificent? What will you create first?
Post a Comment for "Step-by-Step Guide to Using Google Slides for Presentations"
Post a Comment