Step-by-Step Guide to Using Google Slides for Presentations
Presenting with Pizzazz: Your Ultimate Guide to Google Slides Domination
Hello there, presentation pals!
Let's be honest, has anyoneevertruly enjoyed sitting through a dull Power Point presentation? I mean, seriously? We've all been there, haven't we? Trapped in a dimly lit room, struggling to stay awake as someone drones on and on, their slides filled with walls of text and clip art that looks like it was ripped straight from the 90s. You start counting ceiling tiles, imagining elaborate escape routes, or maybe even composing a strongly worded email in your head about the importance of engaging visuals. You wouldn’t want to be that person, would you?
The problem is, for many of us, creating engaging presentations feels like… well, rocket science. We know weshouldhave compelling visuals, dynamic layouts, and a delivery that keeps our audience hooked. But how? The software seems clunky, design skills feel nonexistent, and the fear of embarrassing ourselves in front of a room full of people (or, these days, a virtual room full of silent, judging faces) is paralyzing.
And let's be real, the stakes are high. A good presentation can land you that dream job, secure funding for your startup, or even just convince your team that your brilliant idea is, well, brilliant. A bad presentation? It can leave you looking unprepared, unprofessional, and totally forgettable. Ouch.
That’s where Google Slides comes in, my friends. Think of it as your secret weapon, your presentation powerhouse, your… okay, I’ll stop with the alliteration. But seriously, Google Slides is more than just a free alternative to Power Point. It's a powerful, collaborative, and surprisingly user-friendly tool that can help you create stunning presentations that will actually captivate your audience. And the best part? You don’t need to be a design guru to use it effectively.
Imagine this: you're effortlessly crafting slides with eye-catching visuals, seamlessly integrating multimedia elements, and collaborating in real-time with your colleagues, all without breaking a sweat. Your audience is engaged, energized, and actuallylisteningto what you have to say. Sounds like a dream, right?
Well, wake up, sleepyhead! This guide is your roadmap to Google Slides mastery. We're going to break down everything, from the basics of creating a new presentation to the advanced techniques that will make your slides sing. We'll cover design tips, animation tricks, collaboration hacks, and even some sneaky shortcuts that will save you time and energy. And we promise, we'll keep it fun and engaging along the way. Because who says learning can't be enjoyable?
So, buckle up, grab your favorite beverage (coffee, tea, maybe something a little stronger if you're feeling brave), and get ready to transform your presentations from snooze-fests to standing ovations. Are you ready to unlock the full potential of Google Slides and become a presentation pro? Let's dive in!
Unlocking Google Slides Power: Your Step-by-Step Journey
Alright, friends, let's get down to brass tacks. We're going to walk through the Google Slides landscape together, and by the end of this, you'll be feeling like a seasoned pro. Think of this as your trusty map and compass, guiding you through the wilderness of presentation creation.
Setting Up Your Google Slides Stage: Creating and Navigating
First things first, you need a blank canvas, right? Think of it like a painter staring at a pristine white canvas, ready to create a masterpiece (okay, maybe just a decent presentation, but still!).
•Opening a New Presentation:This is the gateway to your presentation adventure.
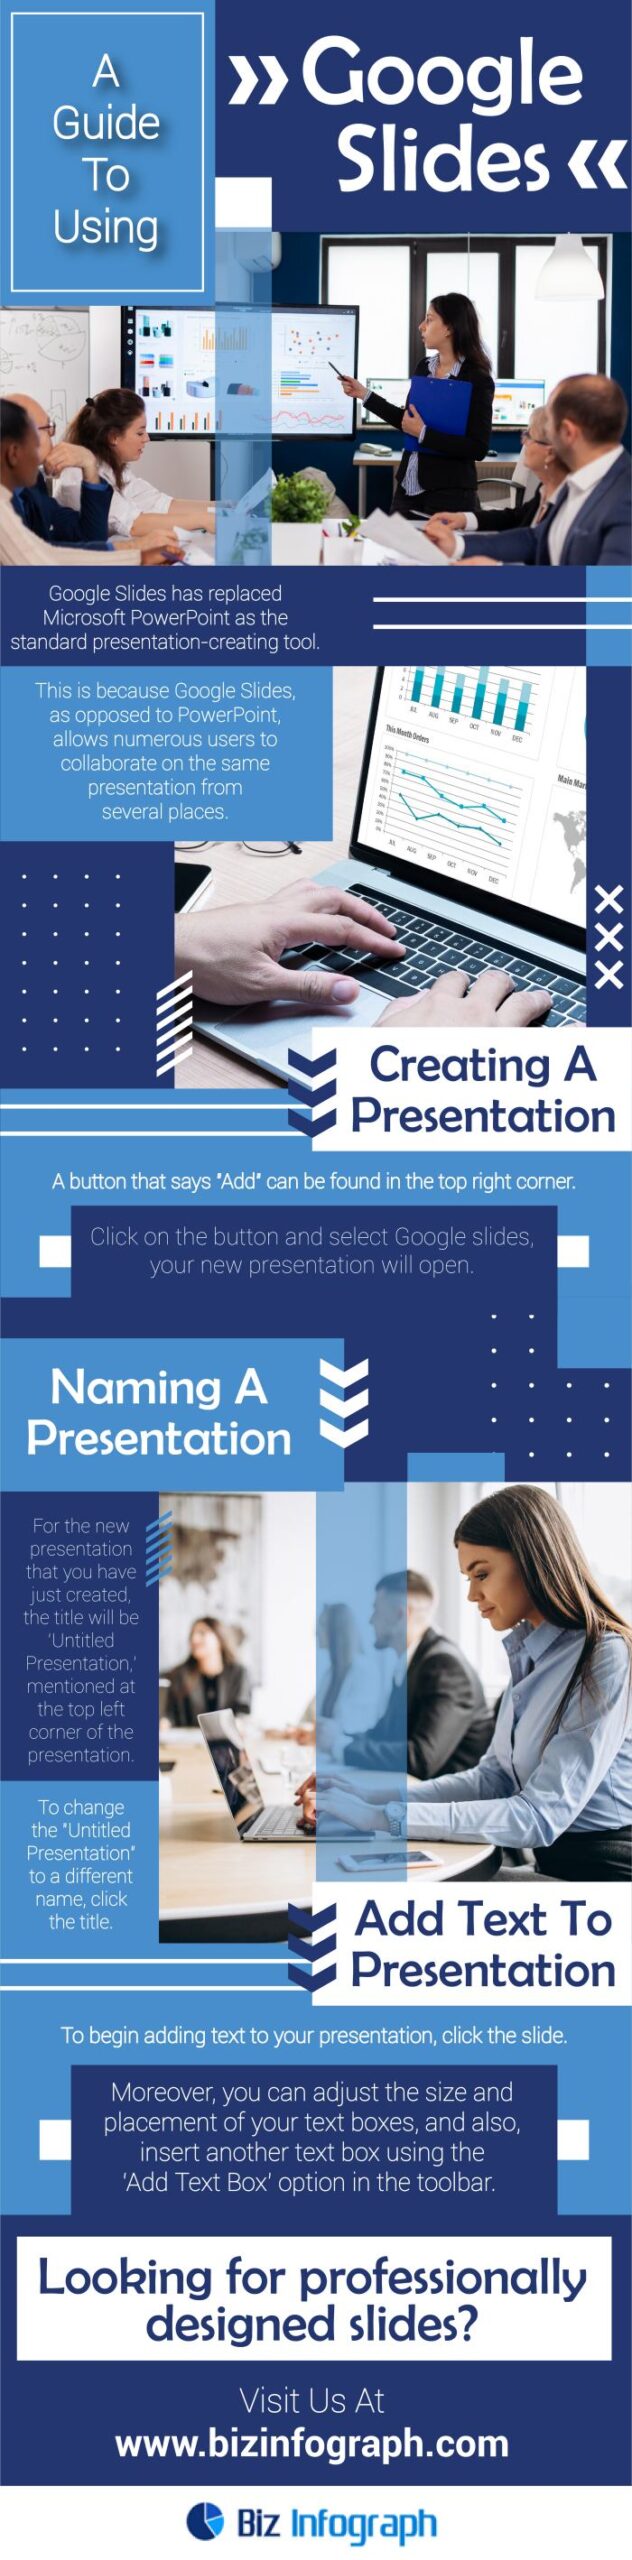
Opening a new presentation is super easy. You have a couple of options here. You can head to your Google Drive, click that big, inviting "+ New" button, and select "Google Slides." Boom! A fresh, sparkling new presentation awaits. Alternatively, you can go straight to the source and type "slides.google.com" into your browser. From there, you can choose a blank presentation or pick from a variety of pre-designed templates. We'll talk more about templates later, but for now, let's stick with the basics.
•Familiarizing Yourself with the Interface:Get to know your tools.
Okay, you've got your blank presentation open. Now what? Take a deep breath and don't panic. The Google Slides interface is actually pretty intuitive once you get the hang of it. At the top, you'll find the menu bar with options like "File," "Edit," "View," "Insert," "Format," "Slide," "Arrange," "Tools," "Add-ons," and Help.Underneath that, you'll see the toolbar with shortcuts to common actions like adding new slides, inserting images, text boxes, shapes, and more. On the left, you'll see the slide navigator, which shows you thumbnails of all your slides and allows you to easily move between them. And in the center, you have the main slide area, where you'll be doing all the magic.
•Choosing a Theme:Set the mood.
Before you start adding content, it's a good idea to choose a theme. Themes are pre-designed sets of colors, fonts, and backgrounds that give your presentation a consistent and professional look. To choose a theme, go to "Slide" in the menu bar and select "Change theme." A sidebar will appear with a variety of themes to choose from. Browse through them and pick one that suits your style and the subject of your presentation. Remember, you can always customize the theme later if you want to tweak the colors or fonts.
Crafting Compelling Content: Adding and Formatting
Now for the fun part! It's time to fill your slides with words, pictures, and all sorts of visual goodies.
•Adding Text Boxes:Let your voice be heard.
Text boxes are your bread and butter for adding text to your slides. To add a text box, click the "Text box" icon in the toolbar (it looks like a "T" inside a box). Then, click and drag on your slide to create the text box. Once you've created the text box, you can start typing. You can also copy and paste text from other documents. Remember to keep your text concise and easy to read. Avoid using long paragraphs and instead opt for bullet points or short sentences.
•*Formatting Make it look pretty (and readable!).
Formatting text is key to making your slides look professional and easy to read. You can change the font, size, color, alignment, and spacing of your text using the formatting options in the toolbar. Experiment with different fonts and colors to find a combination that works well for your presentation. Just remember to use fonts that are easy to read from a distance and colors that contrast well with the background. Don't go overboard with the formatting – keep it consistent and avoid using too many different fonts or colors.
•Inserting Images:A picture is worth a thousand words (especially when your audience is bored).
Images can add visual interest and help illustrate your points. To insert an image, click the "Insert image" icon in the toolbar (it looks like a picture of a mountain and a sun). You can upload an image from your computer, search for an image online, or insert an image from your Google Drive or Google Photos. When choosing images, make sure they are high-quality and relevant to your content. Avoid using blurry or pixelated images. You can also resize and crop images to fit your slides.
•Adding Shapes and Lines:Spice things up visually.
Shapes and lines can be used to add visual structure to your slides and highlight important information. To add a shape or line, click the "Shapes" or "Line" icon in the toolbar. You can choose from a variety of shapes and lines, including rectangles, circles, arrows, and connectors. You can also customize the color, size, and style of your shapes and lines. Use shapes and lines sparingly and strategically to enhance your slides, not clutter them.
•Using Charts and Graphs:Data doesn't have to be dull.
If you're presenting data, charts and graphs are essential. Google Slides makes it easy to create a variety of charts and graphs, including bar charts, pie charts, line graphs, and scatter plots. To insert a chart, go to "Insert" in the menu bar and select Chart.You can choose to create a chart from scratch or import data from Google Sheets. Make sure your charts are clear, concise, and easy to understand. Label your axes and use a clear title to explain what the chart is showing.
Adding Zest: Animations and Transitions
Let's face it, static slides can be a real snooze-fest. Animations and transitions can add some much-needed pizzazz to your presentation and keep your audience engaged.
•Animating Objects:Make things move!
Animations can be used to make objects appear, disappear, move, or change in other ways. To animate an object, select it and then go to "Insert" in the menu bar and select Animation.A sidebar will appear with a variety of animation options. You can choose to animate an object to appear, disappear, fade in, fade out, slide in, or slide out. You can also customize the speed and timing of the animation. Use animations sparingly and strategically to highlight important information or create a sense of visual interest.
•Adding Slide Transitions:Smooth sailing between slides.
Slide transitions are the visual effects that occur when you move from one slide to the next. To add a slide transition, go to "Slide" in the menu bar and select Transition.A sidebar will appear with a variety of transition options. You can choose from a variety of transitions, including fade, slide, flip, and cube. You can also customize the speed and direction of the transition. Use transitions sparingly and strategically to create a smooth and professional flow between your slides.
Collaboration and Sharing: Teamwork Makes the Dream Work
Google Slides is all about collaboration. It makes it easy to work on presentations with others in real-time, no matter where they are in the world.
•Sharing with Others:Let's work together!
To share your presentation with others, click the "Share" button in the top right corner of the screen. You can enter the email addresses of the people you want to share with or create a shareable link. You can also choose whether to give people editing access or just viewing access. When collaborating on a presentation, it's important to communicate clearly and coordinate your efforts to avoid conflicts.
•Real-Time Collaboration:See the magic happen live.
One of the best things about Google Slides is that you can collaborate with others in real-time. You can see their changes as they make them, and you can chat with them directly within the presentation. This makes it easy to work on presentations together, even if you're not in the same room. To start a chat, click the "Chat" icon in the top right corner of the screen.
•Version History:Turning back time (if you need to).
Google Slides automatically saves every version of your presentation, so you can easily revert to a previous version if you make a mistake or want to undo a change. To view the version history, go to "File" in the menu bar and select "Version history." You can browse through the different versions of your presentation and restore any version you want.
Presenting Like a Pro: Tips and Tricks
You've created a stunning presentation. Now it's time to deliver it like a rockstar!
•Starting Your Presentation:Take the stage!
To start your presentation, click the "Present" button in the top right corner of the screen. This will put your presentation into full-screen mode. You can use the arrow keys or the spacebar to advance to the next slide. You can also use the mouse to click on links or buttons within your slides.
•Using Presenter View:Your secret weapon.
Presenter view is a hidden gem in Google Slides. It allows you to see your notes, the next slide, and the time remaining, all while your audience only sees the current slide. To use presenter view, click the dropdown arrow next to the "Present" button and select "Presenter view." A new window will open with presenter view. You can then drag this window to a separate monitor or use it on your tablet. This is a great way to stay organized and on track during your presentation.
•Adding Notes:Your cheat sheet.
Notes are a great way to remember what you want to say on each slide. To add notes, click the "Click to add speaker notes" area at the bottom of the screen. You can type your notes directly into this area. Your notes will only be visible to you in presenter view. Use notes to remind yourself of key points, statistics, or stories you want to share.
•Keyboard Shortcuts:Speed demon mode.
Keyboard shortcuts can save you a lot of time and effort when working with Google Slides. Here are some of the most useful keyboard shortcuts:
• Ctrl+C: Copy
• Ctrl+V: Paste
• Ctrl+X: Cut
• Ctrl+Z: Undo
• Ctrl+Y: Redo
• Ctrl+B: Bold
• Ctrl+I: Italic
• Ctrl+U: Underline
• Ctrl+K: Insert link
• Ctrl+Shift+>: Increase font size
• Ctrl+Shift+<: Decrease font size
• Practice makes perfect. The more you use these shortcuts, the more natural they will become.
Frequently Asked Questions
Got questions? We've got answers!
•Q:How do I embed a video into my Google Slides presentation?
A: Embedding a video is simple! Go to Insert > Video. You can then search You Tube, paste a video URL, or choose a video from your Google Drive. Once inserted, you can resize and position the video as needed.
•Q:Can I use Google Slides offline?
A: Yes! You need to enable offline access in your Google Drive settings. This will allow you to create, edit, and view Google Slides presentations even when you don't have an internet connection. Just remember to sync your changes when you're back online.
•Q:How do I add a custom font to Google Slides?
A: You can add custom fonts from Google Fonts. Click the font dropdown in the toolbar and select "More fonts." This will open a window where you can browse and add fonts from the Google Fonts library.
•Q:Is there a way to record a presentation with Google Slides?
A: Google Slides doesn't have a built-in recording feature. However, you can use third-party screen recording tools like Loom, Screencast-O-Matic, or OBS Studio to record your presentation while you're presenting. Just make sure your microphone is enabled and you're speaking clearly!
Wrapping Up: Your Journey to Google Slides Greatness
Well, friends, we've reached the end of our Google Slides adventure! We've covered a lot of ground, from the basics of creating a new presentation to the advanced techniques that will make your slides stand out from the crowd. We hope you've found this guide helpful and informative, and that you're feeling confident and inspired to create your own amazing presentations.
To recap, we've learned how to navigate the Google Slides interface, add and format content, use animations and transitions, collaborate with others, and present like a pro. We've also answered some frequently asked questions about Google Slides. But remember, the best way to learn is by doing. So, don't be afraid to experiment, try new things, and push the boundaries of what's possible.
Now, it's time for you to take action! We challenge you to create your next presentation using Google Slides, armed with the knowledge and skills you've gained from this guide. Whether you're presenting to your team, your boss, or a room full of potential investors, we're confident that you'll be able to create a presentation that is both engaging and effective.
Remember, a great presentation is not just about the slides themselves. It's also about your delivery, your passion, and your connection with your audience. So, practice your presentation, speak with confidence, and let your personality shine through.
The world needs your ideas, your stories, and your unique perspective. Don't be afraid to share them with the world, one slide at a time. Now go forth and present with pizzazz! What amazing presentations willyoucreate?
Post a Comment for "Step-by-Step Guide to Using Google Slides for Presentations"
Post a Comment