Beginner’s Guide to Video Editing with Adobe Premiere Pro
Unleash Your Inner Spielberg: A Beginner's Guide to Premiere Pro
Lights, Camera, Premiere Pro! Your Journey to Video Editing Mastery Begins Here
Hey there, future filmmakers and video wizards! Ever watched a captivating movie or a slick You Tube video and thought, "I wish I could do that?" Well, guess what? You absolutely can! In today's digital age, video content reigns supreme, and the power to create it is literally at your fingertips. But let’s be real, opening Adobe Premiere Pro for the first time can feel like staring into the cockpit of a spaceship. All those buttons, windows, and jargon? Overwhelming, to say the least. Don't worry, we've all been there.
Imagine this: you just filmed the most epic family vacation ever. Sun-kissed beaches, hilarious mishaps, and memories that deserve to be shared with the world. But raw footage is, well, raw. It needs a little (or a lot!) of editing magic to truly shine. You could spend hours sifting through endless clips, trying to piece together a coherent narrative. Or, you could learn the basics of Premiere Pro and transform that chaotic mess into a cinematic masterpiece.
Or picture this: You're a small business owner trying to boost your online presence. Static images just aren't cutting it anymore. You need engaging video content to capture attention and tell your brand's story. But hiring a professional videographer is expensive, and frankly, feels a bit out of reach right now. Learning Premiere Pro empowers you to create compelling marketing videos, product demos, and social media snippets that will connect with your audience and drive results.
The truth is, video editing isn't just for professionals anymore. It's a valuable skill for anyone who wants to communicate effectively, share their stories, and make a lasting impact. And while Premiere Pro might seem intimidating at first, it's actually quite user-friendly once you understand the fundamentals. Think of it like learning to drive a car. At first, the pedals, steering wheel, and mirrors seem like a lot to manage. But with a little practice, you'll be cruising down the road in no time!
According to recent statistics, video consumption is exploding. Cisco predicts that video will account for 82% of all internet traffic by 2022. You Tube has over
2.5 billion users worldwide, watching over a billion hours of video every day. And businesses that use video in their marketing strategies see a 41% increase in web traffic compared to those that don't. The numbers don't lie: video is where it's at.
So, are you ready to ditch the intimidation and unlock your creative potential? Are you ready to transform your raw footage into captivating stories that resonate with audiences? Are you ready to join the ranks of video creators who are shaping the future of communication? Then buckle up, friends, because we're about to embark on an exciting journey into the world of Adobe Premiere Pro. This beginner's guide will walk you through the essential steps, demystify the jargon, and empower you to create videos that you'll be proud to share. Let's dive in!
Your Premiere Pro Adventure: A Step-by-Step Guide
Alright, let's get our hands dirty! We're going to break down the Premiere Pro basics into manageable chunks, so you can start editing like a pro (or at least, a very enthusiastic beginner) in no time. Don't worry if some of these terms sound foreign now. We'll explain everything along the way. Remember, even the most seasoned editors started somewhere!
• Setting Up Your Project: The Foundation for Success
Think of your project as the container for all your video editing goodies. It's where you'll organize your footage, audio, and graphics. A well-organized project is key to a smooth editing workflow.
Open Premiere Pro: Fire up the program and get ready to create.
New Project: Click "New Project" on the welcome screen. This is where the magic begins.
Name Your Project: Give your project a descriptive name (e.g., "Family Vacation 2024"). Choose a location on your computer to save it.
Scratch Disks: This is where Premiere Pro stores temporary files. It's generally fine to leave these at their default settings unless you're working with massive files and need to optimize storage.
Click "OK": Boom! You've created your project. Now it's time to import your footage.
• Importing Your Footage: Bringing Your Story to Life
Now that you have a project, it's time to bring in the raw materials – your video clips, audio files, and images.
Import Panel: Locate the "Project" panel (usually in the bottom left corner). This is where all your assets will live.
Right-Click and Import: Right-click in the Project panel and select Import.You can also go to "File" > Import.Browse Your Files: Navigate to the folder where your footage is stored and select the files you want to import.
Drag and Drop: Alternatively, you can simply drag and drop files directly from your computer into the Project panel. Easy peasy!
Organize with Bins: Create "bins" (folders) within your Project panel to keep your footage organized. For example, you might have bins for "Interviews," "B-Roll," and Audio.
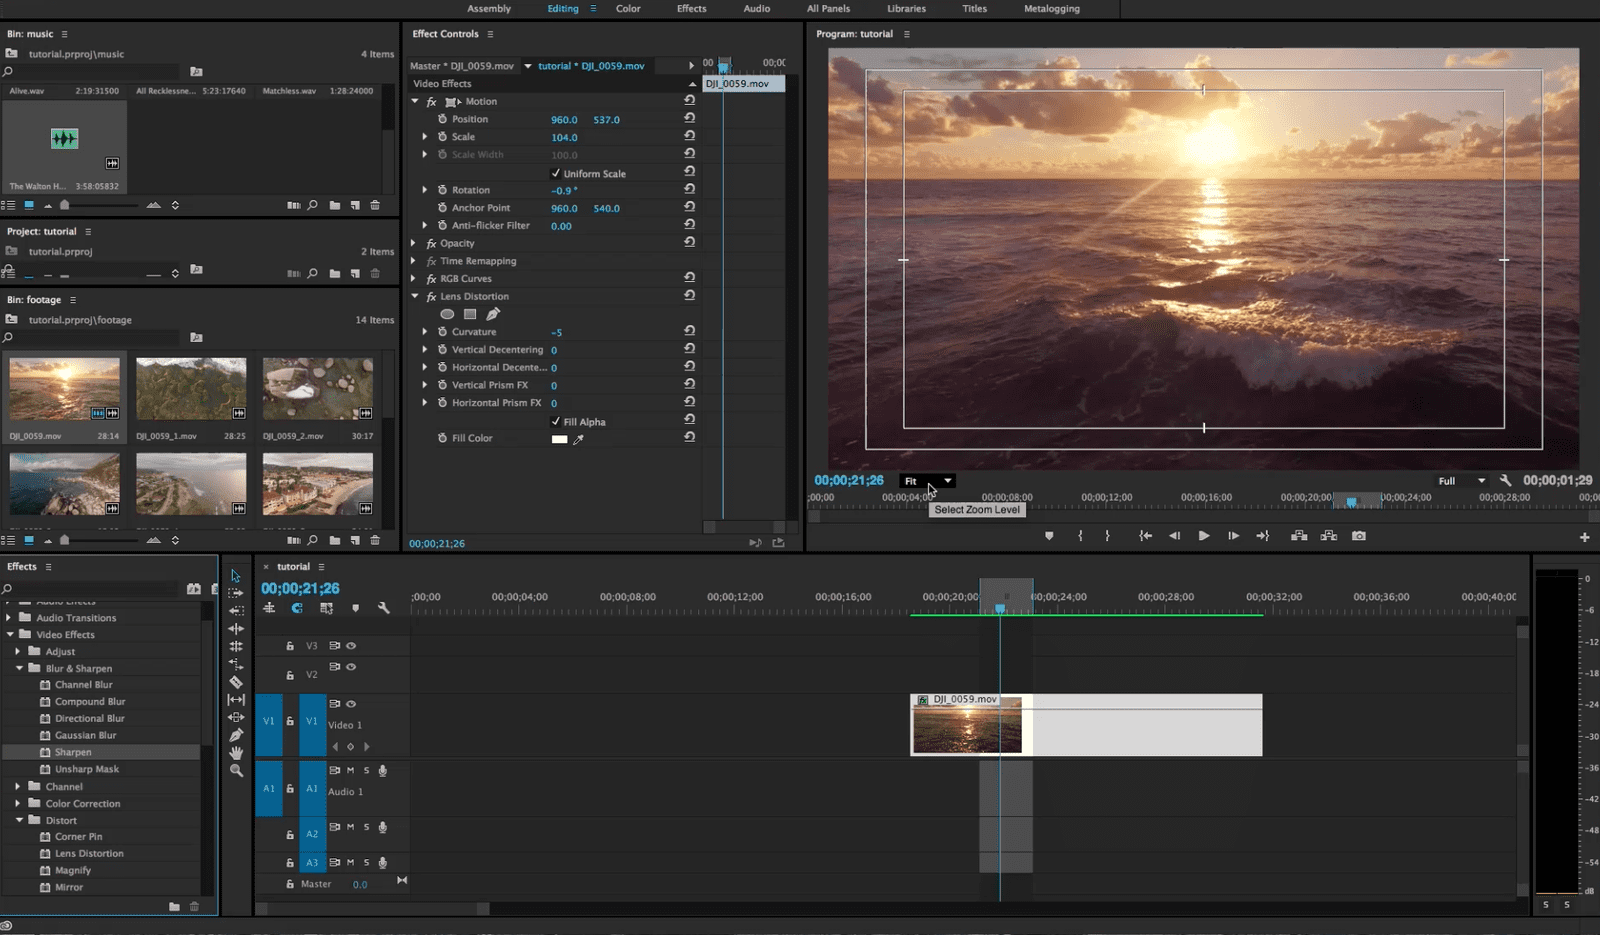
• Understanding the Interface: Your Editing Playground
Premiere Pro's interface can seem daunting at first, but it's actually quite logical once you understand the key components.
Project Panel: We already met this one. It's where all your imported assets are stored.
Source Monitor: This is where you preview your individual clips before adding them to your timeline. You can set in and out points to select specific portions of a clip.
Program Monitor: This is where you see the final result of your edits on the timeline. It's your window into the finished product.
Timeline: This is the heart of Premiere Pro. It's where you arrange your clips, add effects, and create your story. The timeline consists of video tracks (V1, V2, etc.) and audio tracks (A1, A2, etc.).
Tools Panel: This panel contains the various tools you'll use for editing, such as the Selection tool, Razor tool, and Hand tool.
Audio Meter: this is a useful panel for setting the audio lavel.
Effects Controls: This panel allows you to adjust the settings of any effects you've added to your clips.
• Basic Editing Techniques: Cutting and Trimming Like a Pro
Now for the fun part! Let's learn how to cut, trim, and arrange your clips on the timeline.
Drag Clips to the Timeline: Select a clip from the Project panel and drag it onto a video track (V1, for example) in the timeline.
Razor Tool: Select the Razor tool (or press "C" on your keyboard) to cut clips at specific points. Click on the clip where you want to make a cut.
Selection Tool: Use the Selection tool (or press "V") to select and move clips around on the timeline.
Ripple Delete: Select a clip and press "Delete" to remove it. The remaining clips will shift to the left to fill the gap.
Trim Clips: Hover your mouse over the edge of a clip on the timeline. When you see a red or yellow arrow, click and drag to trim the clip. You can shorten or lengthen the clip by dragging the edge.
• Adding Transitions: Smoothing Out the Edges
Transitions are used to create smooth transitions between clips and add visual interest to your videos.
Effects Panel: Locate the "Effects" panel (usually on the right side of the screen).
Video Transitions: Expand the "Video Transitions" folder to see a list of available transitions.
Cross Dissolve: The Cross Dissolve is a classic and versatile transition that gradually fades one clip into the next.
Drag and Drop Transitions: Drag a transition from the Effects panel onto the beginning or end of a clip on the timeline.
Adjust Duration: Click on the transition on the timeline to adjust its duration. A shorter duration creates a quick transition, while a longer duration creates a more gradual fade.
• Working with Audio: Sound Matters!
Audio is just as important as video. Make sure your audio levels are balanced and clear.
Adjust Audio Levels: Select a clip on the timeline and go to the "Audio" tab in the "Effect Controls" panel. Adjust the volume slider to increase or decrease the audio level.
Audio Gain: Use the "Audio Gain" control to boost the overall volume of a clip. Be careful not to boost it too much, as this can cause distortion.
Add Music: Import music tracks into your project and drag them onto an audio track (A1, for example) on the timeline.
Fade In/Out: Use the "Audio Transition" effect to create smooth fade-ins and fade-outs for your audio tracks.
• Adding Text and Graphics: Visual Flair
Text and graphics can add context, information, and visual appeal to your videos.
Graphics Workspace: Go to "Window" > "Workspaces" > Graphics.This will open the Graphics workspace, which is optimized for creating titles and graphics.
Essential Graphics Panel: The Essential Graphics panel is where you'll find pre-designed title templates and tools for creating your own graphics.
Add Click the "Type" tool (T) and click on the Program monitor to add text to your video.
Customize Use the Essential Graphics panel to change the font, size, color, and position of your text.
Add Shapes: Use the shape tools (Rectangle, Ellipse, etc.) to add shapes to your video.
Animate Graphics: Use keyframes to animate your text and graphics over time.
• Exporting Your Video: Sharing Your Masterpiece
Once you're happy with your edits, it's time to export your video for sharing.
File > Export > Media: Go to "File" > "Export" > Media.This will open the Export Settings window.
Format: Choose a format that's compatible with your desired platform (e.g., H.264 for You Tube, MP4 for general use).
Preset: Select a preset that matches your video's resolution and frame rate (e.g., "You Tube 1080p HD").
Output Name: Choose a name and location for your exported video file.
Export: Click the "Export" button to start the exporting process. This may take some time, depending on the length and complexity of your video.
FAQ: Your Premiere Pro Questions Answered
Got some burning questions about Premiere Pro? We've got you covered! Here are some common questions from beginner video editors:
• What are the minimum system requirements for running Premiere Pro?
Premiere Pro is a demanding program, so you'll need a fairly powerful computer to run it smoothly. As of today, Adobe recommends at least 8GB of RAM (16GB is better), a fast processor (Intel Core i5 or AMD Ryzen 5 or better), and a dedicated graphics card with at least 2GB of VRAM. You'll also need plenty of storage space for your footage and project files. Check Adobe's website for the most up-to-date system requirements.
• How do I fix choppy playback in Premiere Pro?
Choppy playback can be frustrating, but there are several things you can try to fix it:
Lower Playback Resolution: In the Program monitor, click the "Playback Resolution" menu and choose a lower resolution (e.g., 1/2 or 1/4).
Create Proxies: Premiere Pro can create low-resolution "proxy" files that are easier to edit with. Go to "Project" > "Create Proxies" to generate proxies for your footage.
Clear Media Cache: Go to "Edit" > "Preferences" > "Media Cache" and click "Remove Media Cache Files."
Upgrade Your Hardware: If you're still experiencing choppy playback, you may need to upgrade your computer's hardware.
• How do I remove the watermark from my videos?
Using watermarked footage without permission is generally illegal and unethical. If you have permission to use the footage, you can try using the "Crop" effect in Premiere Pro to crop out the watermark. However, this may also crop out important parts of the video. Alternatively, you can try using the "Clone Stamp" tool to paint over the watermark. However, this can be time-consuming and may not produce the best results. The best solution is always to obtain footage without watermarks legally.
• Where can I find free resources to learn more about Premiere Pro?
There are tons of free resources available online to help you learn Premiere Pro. You Tube is a great place to start. Search for tutorials on specific topics or watch beginner-friendly courses. Adobe also offers a wealth of free tutorials and documentation on its website. You can also find helpful communities and forums where you can ask questions and get advice from other Premiere Pro users.
Your Video Editing Journey: The Adventure Awaits
Congratulations, you've made it to the end of this beginner's guide! You now have a solid foundation in the fundamentals of Adobe Premiere Pro. Remember, video editing is a skill that takes time and practice to master. Don't be afraid to experiment, make mistakes, and learn from them. The more you practice, the more confident and creative you'll become.
We covered a lot of ground in this guide, from setting up your project and importing footage to cutting, trimming, adding transitions, working with audio, and exporting your final video. We also touched on adding text and graphics to give your videos that extra visual flair. And we answered some common questions that beginner video editors often have.
But this is just the beginning of your video editing adventure! There's a whole world of advanced techniques, effects, and workflows to explore. Don't be afraid to dive deeper and discover new ways to express your creativity. The possibilities are endless!
Now, it's time to put your newfound knowledge into practice. Open up Premiere Pro, grab some footage, and start experimenting. Create a short video for your family, a promotional video for your business, or a fun video for your social media channels. The most important thing is to get started and have fun!
So, what are you waiting for? Unleash your inner Spielberg and start creating videos that will captivate, inspire, and entertain. The world is waiting to see what you can do!
Ready to take the next step in your video editing journey? Subscribe to our newsletter for more tips, tricks, and tutorials on Adobe Premiere Pro. What kind of video are you most excited to create?
Post a Comment for "Beginner’s Guide to Video Editing with Adobe Premiere Pro"
Post a Comment