How to Edit Podcast Audio Using Audacity
Unlock Your Podcast Potential: Mastering Audio Editing with Audacity
Unlock Your Podcast Potential: Mastering Audio Editing with Audacity
Hey podcasting pals! Ever feel like your audio sounds a bit… rough? Like you're broadcasting from inside a tin can, or your co-host's laughter is about to blow out everyone's eardrums? We've all been there. The truth is, a killer podcast isn’t just about fascinating content; it's about delivering that content with crystal-clear, professional-sounding audio.
Think about it: you've poured your heart and soul into researching, writing, and recording your latest episode. You've got groundbreaking insights, hilarious anecdotes, and maybe even a celebrity guest! But if the audio is riddled with background noise, awkward pauses, or inconsistent levels, listeners are going to tune out faster than you can say subscribe.It’s like serving a gourmet meal on a cracked plate – the food might be amazing, but the presentation detracts from the overall experience.
The problem is, audio editing can seem intimidating. All those waveforms and technical terms – it's enough to make anyone want to throw their microphone out the window. And hiring a professional audio editor can be expensive, especially when you're just starting out. So, what's a budding podcaster to do?
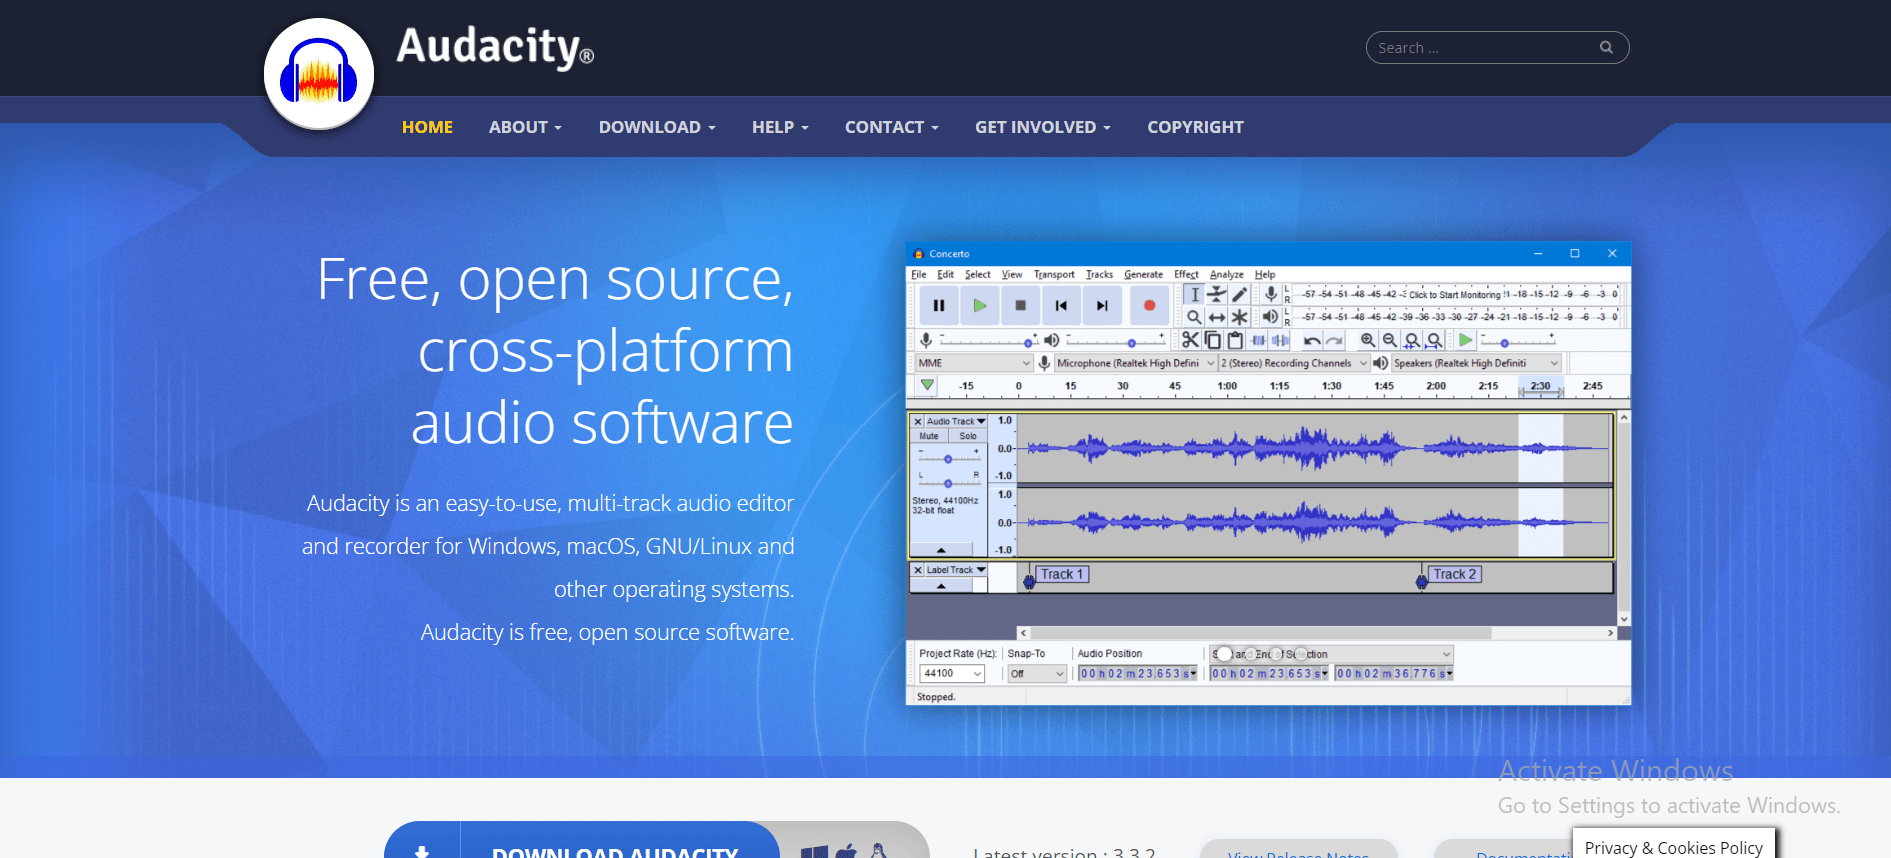
Enter Audacity: your free, open-source, audio editing superhero! Audacity is a powerful, yet surprisingly user-friendly, tool that can transform your raw recordings into polished, professional-sounding podcasts. It’s like having a mini recording studio right on your computer, without the hefty price tag.
Imagine being able to effortlessly remove those distracting "umms" and "ahhs," smooth out uneven audio levels, add intro and outro music, and even create custom sound effects. With Audacity, you can finally take control of your podcast's audio and create a listening experience that keeps your audience hooked from start to finish.
But where do you even begin? That's where we come in. In this guide, we're going to walk you through the essential steps of editing your podcast audio using Audacity, from importing your recordings to exporting your final masterpiece. We'll break down complex concepts into easy-to-understand terms, and we'll provide plenty of practical tips and tricks along the way. Whether you're a complete beginner or you've dabbled in audio editing before, this guide will give you the knowledge and confidence you need to create podcasts that sound amazing.
Ready to ditch the audio headaches and start creating podcasts that shine? Let's dive in and unlock your podcasting potential with Audacity!
Getting Started with Audacity
Before we jump into the nitty-gritty of editing, let's make sure you have Audacity installed and ready to go. Don't worry, it's a breeze!
• Downloading and Installing Audacity:
First things first, head over to the official Audacity website (audacityteam.org) and download the version that's compatible with your operating system (Windows, mac OS, or Linux). Once the download is complete, simply run the installer and follow the on-screen instructions. The installation process is pretty straightforward, so you shouldn't encounter any major hiccups. Just remember to grant Audacity the necessary permissions to access your microphone and other audio devices.
• Familiarizing Yourself with the Interface:
Once Audacity is installed, launch the program and take a few minutes to explore the interface. You'll see a toolbar at the top with various buttons for recording, playing, pausing, and stopping audio. Below the toolbar is the waveform display area, where you'll see the visual representation of your audio. On the left side, you'll find the track control panel, which allows you to adjust the volume, pan, and mute individual tracks. Don't be overwhelmed by all the options – we'll be focusing on the most essential tools for podcast editing.
Importing and Navigating Your Audio
Now that you're acquainted with Audacity, it's time to import your podcast recording and start exploring its contents.
• Importing Audio Files:
To import your audio file, simply go to "File" > "Open" and select the file you want to edit. Audacity supports a wide range of audio formats, including MP3, WAV, and AIFF. Alternatively, you can drag and drop your audio file directly into the Audacity window. Once the file is imported, you'll see its waveform displayed in the waveform display area. If you have multiple audio files (e.g., separate recordings for you and your co-host), you can import them all into the same Audacity project. Each file will be placed on a separate track, allowing you to edit them independently.
• Navigating the Waveform:
The waveform is a visual representation of your audio signal. The higher the waveform, the louder the audio. Take some time to zoom in and out of the waveform to get a feel for the different sections of your recording. You can use the zoom tools in the toolbar or the keyboard shortcuts (Ctrl + 1 to zoom in, Ctrl + 3 to zoom out, Ctrl + 2 to zoom to fit) to adjust the view. Use the scroll bars to move horizontally and vertically through the audio. Listen to different parts of the recording by clicking on the waveform and pressing the spacebar to play. This will help you identify areas that need editing, such as long pauses, mistakes, or unwanted noise.
Essential Editing Techniques
Alright, let's get down to the core of audio editing: removing the unwanted bits and polishing the good stuff!
• Cutting and Deleting Audio:
One of the most basic, yet essential, editing tasks is cutting and deleting unwanted audio. This includes removing long pauses, stumbles, coughs, or any other distracting sounds. To cut audio, simply select the portion of the waveform you want to remove using the selection tool (the "I" icon in the toolbar). Once the audio is selected, press the "Delete" key or go to "Edit" > Delete.Be careful not to accidentally delete important audio! If you make a mistake, you can always undo your last action by pressing Ctrl + Z.
• Adjusting Audio Levels:
Uneven audio levels can be a major distraction for listeners. Some parts of your recording might be too quiet, while others might be too loud. Audacity provides several tools for adjusting audio levels. The most common is the "Envelope Tool" (the two arrows pointing up and down icon in the toolbar). This tool allows you to create custom volume adjustments throughout your audio. Simply click on the waveform to add control points, and then drag the control points up or down to increase or decrease the volume. You can also use the "Amplify" effect (found under "Effect" > "Amplify") to uniformly increase or decrease the volume of a selected portion of audio. However, be careful not to amplify the audio too much, as this can introduce distortion.
• Removing Background Noise:
Background noise can be a major problem, especially if you're recording in a less-than-ideal environment. Audacity's "Noise Reduction" effect (found under "Effect" > "Noise Reduction") can help you remove or reduce unwanted background noise, such as hums, hisses, or fan noise. The noise reduction process involves two steps: first, you need to select a section of your audio that contains only the background noise you want to remove. Then, you need to apply the noise reduction effect and adjust the settings until you achieve the desired result. Be careful not to overdo the noise reduction, as this can make your audio sound unnatural.
• Adding Intro and Outro Music:
Intro and outro music can add a professional touch to your podcast. To add music to your episode, simply import the music file into your Audacity project. The music will be placed on a separate track. You can then use the selection tool to move the music to the beginning or end of your episode. Use the Envelope tool to fade the music in and out smoothly, so it doesn't abruptly start or stop. Experiment with different music options and find something that complements the tone and style of your podcast. Ensure you have the rights to use any music in your podcast. Many royalty-free music sites offer tracks for commercial use.
• Adding Sound Effects:
Sound effects can be used to enhance your podcast and add a layer of engagement to your content. For example, you might add a sound effect to emphasize a point, create a comedic effect, or transition between segments. There are many websites that offer free sound effects, such as Freesound.org. To add a sound effect, simply import the sound effect file into your Audacity project. The sound effect will be placed on a separate track. You can then use the selection tool to move the sound effect to the desired location in your episode. Adjust the volume of the sound effect using the volume slider in the track control panel to ensure it's not too loud or too quiet.
Advanced Editing Techniques
Ready to take your audio editing skills to the next level? Let's explore some more advanced techniques that can help you create truly professional-sounding podcasts.
• Compression:
Compression is a technique used to reduce the dynamic range of your audio. Dynamic range refers to the difference between the loudest and quietest parts of your recording. By compressing your audio, you can make the quiet parts louder and the loud parts quieter, resulting in a more consistent and balanced sound. Audacity's "Compressor" effect (found under "Effect" > "Compressor") can be used to apply compression to your audio. The compressor has several settings that you can adjust, such as the threshold, ratio, attack time, and release time. Experiment with these settings to find the best sound for your audio. A good starting point is a threshold of -20 d B, a ratio of 4:1, an attack time of 10 ms, and a release time of 200 ms.
• Equalization:
Equalization (EQ) is the process of adjusting the frequency balance of your audio. This can be used to enhance certain frequencies, such as the bass or treble, or to reduce unwanted frequencies, such as muddiness or sibilance. Audacity's "Equalization" effect (found under "Effect" > "Equalization") allows you to adjust the frequency response of your audio. The equalizer has several bands that you can adjust, each representing a different frequency range. Experiment with these bands to find the best sound for your audio. For example, you might boost the high frequencies to add clarity or reduce the low frequencies to remove muddiness.
• Limiting:
Limiting is a technique used to prevent your audio from exceeding a certain level. This can be used to prevent clipping, which occurs when the audio signal is too loud and gets distorted. Audacity's "Limiter" effect (found under "Effect" > "Limiter") can be used to apply limiting to your audio. The limiter has a single setting: the threshold. This setting determines the maximum level that your audio can reach. Any audio that exceeds the threshold will be reduced in volume. A good starting point is a threshold of -1 d B.
Exporting Your Final Product
You've edited your audio to perfection – now it's time to export it and share it with the world!
• Choosing the Right Format:
When exporting your podcast, you'll need to choose the right audio format. The most common format for podcasts is MP3. MP3 is a compressed audio format that offers a good balance between file size and audio quality. Audacity also supports other audio formats, such as WAV and AIFF. These formats are uncompressed and offer the highest possible audio quality, but they also result in larger file sizes. For podcasts, MP3 is generally the best choice. Set your bitrate to 128kbps for mono podcasts and 192kbps for stereo podcasts. These settings provide excellent audio quality without creating excessively large files.
• Exporting Your Audio:
To export your audio, go to "File" > "Export" > "Export as MP3" (or your desired format). Choose a location to save your file and give it a descriptive name. In the export dialog box, you can also adjust the quality settings, such as the bitrate and sample rate. Once you're satisfied with the settings, click "Save" to export your audio. Audacity may ask you to enter metadata for your podcast, such as the title, artist, and album. This metadata will be embedded in the audio file and displayed in podcast apps. Fill out the metadata fields as accurately as possible.
• Optimizing for Podcast Platforms:
Before uploading your podcast to a hosting platform, it's a good idea to optimize your audio for streaming and downloading. This includes ensuring that your audio levels are consistent, your file size is reasonable, and your metadata is accurate. You can use online tools to check your audio levels and file size. Many podcast hosting platforms also offer built-in optimization tools.
Audacity Tips and Tricks
Here are a few extra tips and tricks to help you get the most out of Audacity:
• Use Keyboard Shortcuts:
Audacity has a wide range of keyboard shortcuts that can help you speed up your editing workflow. For example, Ctrl + Z undoes your last action, Ctrl + X cuts audio, Ctrl + C copies audio, and Ctrl + V pastes audio. Learn the most common keyboard shortcuts and use them to save time and effort.
• Experiment with Effects:
Audacity has a wide range of effects that you can use to enhance your audio. Don't be afraid to experiment with different effects and see what they can do. Just remember to use effects sparingly and avoid over-processing your audio.
• Save Your Projects:
Audacity projects are saved in a special format called AUP. This format allows you to save all of your editing changes and revert to previous versions of your project if needed. It is crucial to save your project frequently, especially before making any major changes. If Audacity crashes or you accidentally delete something, you can restore your project from the last saved version.
• Back Up Your Audio:
It's always a good idea to back up your audio files, especially your raw recordings. This will protect you from data loss in case of a hard drive failure or other unforeseen circumstances. Store your backups in a safe place, such as an external hard drive or a cloud storage service.
• Watch Tutorials:
There are many excellent Audacity tutorials available online. Watch these tutorials to learn new techniques and discover hidden features. The Audacity website also has a comprehensive manual that you can consult for detailed information about all of the program's features.
Troubleshooting Common Issues
Even with the best preparation, you might encounter some issues while editing your podcast audio. Here are a few common problems and how to solve them:
• Problem: Audio sounds distorted.
Solution: Reduce the gain on your microphone or audio interface. Also, check for clipping in Audacity and reduce the volume of the affected sections.
• Problem: Background noise is too loud.
Solution: Use Audacity's Noise Reduction effect. Make sure to select a section of audio that contains only background noise for the noise profile.
• Problem: Audio is too quiet.
Solution: Use Audacity's Amplify effect to increase the volume. Be careful not to amplify the audio too much, as this can introduce distortion. Alternatively, use the Compressor effect to reduce the dynamic range and make the quiet parts louder.
• Problem: Audacity crashes frequently.
Solution: Make sure you have the latest version of Audacity installed. Also, close any other programs that might be using a lot of memory. If the problem persists, try reinstalling Audacity.
• Problem: Can't hear audio when recording.
Solution: Check your microphone and audio interface connections. Make sure your microphone is selected as the input device in Audacity's preferences. Also, check the volume levels on your microphone and audio interface.
Here are a few frequently asked questions related to editing podcast audio using Audacity:
• Question: Is Audacity really free?
Answer: Yes, Audacity is completely free and open-source software. You can download and use it without paying a penny.
• Question: Can I use Audacity for commercial purposes?
Answer: Yes, you can use Audacity for commercial purposes without any restrictions.
• Question: What are the system requirements for Audacity?
Answer: Audacity has very modest system requirements and can run on most modern computers. You'll need a reasonably powerful processor, sufficient RAM, and enough hard drive space to store your audio files.
• Question: Where can I find royalty-free music for my podcast?
Answer: There are many websites that offer royalty-free music, such as Epidemic Sound, Premium Beat, and Artlist. You can also find free music on sites like Freesound.org and the You Tube Audio Library, but be sure to check the licensing terms carefully.
So there you have it, friends! You've now armed yourself with the knowledge and skills to transform your raw audio recordings into polished, professional-sounding podcasts using Audacity. We've covered everything from the basics of importing and navigating your audio to advanced techniques like compression and equalization. You've learned how to remove unwanted noise, add intro and outro music, and optimize your audio for podcast platforms. The power to create captivating audio experiences is now in your hands!
Now, it's time to put your newfound knowledge into action! Open up Audacity, grab your latest podcast recording, and start experimenting. Don't be afraid to make mistakes – that's how you learn. The more you practice, the more confident and skilled you'll become. Remember, even the most seasoned audio engineers started somewhere. Keep practicing, keep learning, and keep creating amazing podcasts!
We encourage you to take the next step and start editing your own podcast audio using Audacity. Share your creations with the world and let your voice be heard. The podcasting community is waiting to hear what you have to say. So, go out there and make some noise!
What are you waiting for? It is time to create your first podcast episode and share it with the world.
Post a Comment for "How to Edit Podcast Audio Using Audacity"
Post a Comment