Step-by-Step Guide to Building Mobile Apps with Flutter
Flutter Like a Pro: Your Ultimate Guide to Mobile App Mastery
Hey there, future app wizards! Ever find yourself staring at your phone, thinking, "I could build something way cooler than this"? Or maybe you've got a million-dollar app idea swirling in your head but have no clue where to start. Trust me, we've all been there. It's like dreaming of being a chef but only knowing how to microwave popcorn. Delicious, but not exactly Michelin-star material.
But what if I told you that building your own mobile app isn’t some mystical, unattainable goal reserved for coding geniuses? What if I said you could actually do it, even if your coding experience currently peaks at changing your Facebook profile picture? That’s where Flutter comes in, my friends. Think of it as the culinary school for app development, making the process surprisingly… dare I say… fun?
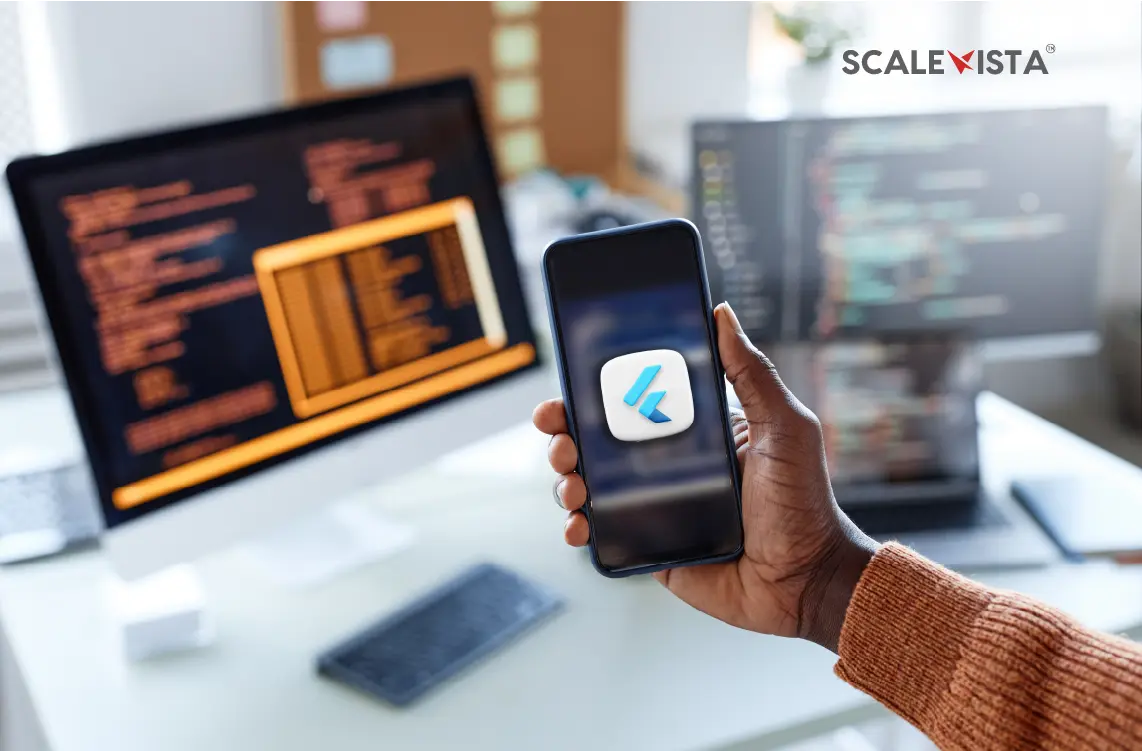
Flutter, in a nutshell, is Google’s open-source UI toolkit for building natively compiled applications for mobile, web, and desktop from a single codebase. Translation: you write the code once, and it works on both i OS and Android. Talk about efficiency! It’s like inventing a universal remote for your entire digital life. No more juggling separate projects, no more tearing your hair out trying to make things work across different platforms. Just pure, streamlined app-building bliss.
Now, you might be thinking, "Okay, sounds great, but why Flutter? There are tons of other app development options out there!" And you'd be right. But here's the kicker: Flutter offers a unique blend of speed, beauty, and performance that's hard to beat. It's like choosing between a rusty old bicycle and a sleek, carbon-fiber road bike. Both will get you there, but one will definitely get you there faster and with a lot more style.
Consider this: a recent study by Statista revealed that Flutter's cross-platform capabilities are a major draw for developers, with 42% using it for its code reusability. This means you can focus on crafting amazing user experiences instead of wrestling with platform-specific quirks. Plus, Flutter's "hot reload" feature lets you see changes in your code almost instantly, making debugging a breeze. It's like having a magic wand that instantly fixes your mistakes – a lifesaver for any aspiring app developer!
But enough with the preamble. You're here because you want to build apps, not listen to me ramble about the wonders of Flutter (although, let's be honest, it's pretty awesome). So, are you ready to transform that million-dollar idea into a reality? Are you ready to unlock your inner app-building genius? Get ready to dive into a step-by-step guide that will take you from Flutter newbie to mobile app master. Let's get started and see how easy it can be to bring your vision to life, one line of code at a time. Prepare to be amazed at what you can create!
Diving Deep: Your Flutter App Building Journey
Alright, friends, buckle up! We're about to embark on a journey into the exciting world of Flutter app development. Forget the complex jargon and endless tutorials; we're keeping it real, practical, and, dare I say, enjoyable. The main issue many face is feeling overwhelmed by the sheer amount of information out there. So, let's break it down into manageable steps.
Setting Up Your Flutter Environment
Before we even think about writing a single line of code, we need to set up our development environment. Think of it like preparing your kitchen before cooking a gourmet meal. You wouldn't start chopping vegetables on a dirty counter, would you?
• Install Flutter SDK: This is the core of Flutter. Head over to the official Flutter website and download the SDK for your operating system (Windows, mac OS, or Linux). Follow the installation instructions carefully. It might seem a bit technical at first, but trust me, it’s worth it.
• Set Up Your Editor: You'll need a code editor to write your Flutter code. Popular choices include Visual Studio Code (VS Code) and Android Studio. VS Code is lightweight and easy to use, while Android Studio is a more comprehensive IDE (Integrated Development Environment). Both have excellent Flutter plugins that provide code completion, debugging tools, and more.
• Configure Emulators/Simulators: To test your apps, you'll need either a physical device (Android or i OS) or an emulator/simulator. Android Studio comes with an Android emulator, while Xcode (for mac OS) provides an i OS simulator. Setting these up can be a bit tricky, but there are tons of online tutorials to guide you.
Understanding the Basics of Dart
Flutter uses Dart as its programming language. If you're already familiar with languages like Java, Java Script, or C#, Dart will feel quite familiar. But even if you're a complete beginner, don't worry! Dart is designed to be easy to learn.
• Variables and Data Types: Just like any other programming language, Dart has variables to store data and different data types like integers (numbers), strings (text), booleans (true/false), and lists (collections of items).
• Functions: Functions are reusable blocks of code that perform specific tasks. They're essential for organizing your code and making it more readable.
• Classes and Objects: Dart is an object-oriented language, which means it uses classes and objects to model real-world entities. A class is a blueprint for creating objects, and an object is an instance of a class.
• Asynchronous Programming: Mobile apps often need to perform tasks that take time, like fetching data from the internet. Asynchronous programming allows your app to remain responsive while these tasks are running in the background. Dart provides excellent support for asynchronous programming using `async` and `await`.
Building Your First Flutter App: "Hello World"
Now for the fun part: building your first Flutter app! We'll start with the classic "Hello World" app, which will demonstrate the basic structure of a Flutter project.
• Create a New Project: In your terminal or command prompt, navigate to the directory where you want to create your project and run the command `flutter create hello_world`. This will create a new Flutter project named "hello_world."
• Explore the Project Structure: Open the project in your code editor. You'll see a folder structure with several files and directories. The main file you'll be working with is `lib/main.dart`.
• Write the Code: Open `lib/main.dart` and replace the existing code with the following:
import 'package:flutter/material.dart'; void main() { run App( Center( child: Text( 'Hello, World!', text Direction: Text Direction.ltr, ), ), ); }
• Run the App: In your terminal, navigate to the project directory and run the command `flutter run`. This will build and run your app on the connected device or emulator/simulator. You should see "Hello, World!" displayed on the screen.
Understanding Flutter Widgets
Widgets are the building blocks of Flutter UIs. Everything you see on the screen is a widget, from buttons and text fields to images and layouts.
• Stateless vs. Stateful Widgets: Stateless widgets are immutable, meaning their properties cannot change after they're created. Stateful widgets, on the other hand, can change their properties, which allows them to update the UI dynamically.
• Common Widgets: Flutter provides a rich set of pre-built widgets, including: `Text`: Displays text.
`Image`: Displays images.
`Button`: Creates clickable buttons.
`Text Field`: Allows users to enter text.
`Container`: A versatile widget for adding padding, margins, borders, and backgrounds to other widgets.
`Row` and `Column`: Layout widgets that arrange their children horizontally or vertically.
`List View`: Displays a scrollable list of widgets.
• Building Custom Widgets: You can also create your own custom widgets by extending the `Stateless Widget` or `Stateful Widget` class. This allows you to encapsulate complex UI elements into reusable components.
Designing User Interfaces with Flutter
Creating beautiful and intuitive user interfaces is crucial for the success of any mobile app. Flutter provides a powerful set of tools for designing UIs that are both visually appealing and easy to use.
• Layout Widgets: Use layout widgets like `Row`, `Column`, `Stack`, and `Expanded` to arrange your widgets on the screen.
• Styling Widgets: Customize the appearance of your widgets using properties like `color`, `font Size`, `font Weight`, `padding`, and `margin`.
• Themes: Define a theme for your app to ensure consistency in colors, fonts, and other visual styles.
• Adaptive UI: Flutter allows you to create UIs that adapt to different screen sizes and orientations.
Working with Data and APIs
Most mobile apps need to interact with data, whether it's stored locally on the device or fetched from a remote server. Flutter provides several ways to work with data and APIs.
• Local Storage: Use libraries like `shared_preferences` to store small amounts of data locally on the device.
• Databases: For more complex data storage, consider using a local database like SQLite or a cloud-based database like Firebase.
• APIs: To fetch data from remote servers, use the `http` package to make HTTP requests. You'll typically receive data in JSON format, which you can then parse and display in your app.
Managing State in Flutter
State management is a crucial aspect of Flutter app development. It involves managing the data that changes over time and updating the UI accordingly.
• set State(): The simplest way to manage state is to use the `set State()` method, which is available in stateful widgets. Calling `set State()` triggers a rebuild of the widget, allowing you to update the UI with the new data.
• Provider: A popular state management solution that uses the concept of "providers" to make data available to widgets in the widget tree.
• Bloc/Cubit: A more advanced state management pattern that separates the UI logic from the business logic, making your code more testable and maintainable.
Testing Your Flutter App
Testing is an essential part of the development process. It helps you identify and fix bugs before releasing your app to the world.
• Unit Tests: Test individual functions and classes in isolation.
• Widget Tests: Test the UI components of your app.
• Integration Tests: Test the interaction between different parts of your app.
Deploying Your Flutter App
Once you're happy with your app, it's time to deploy it to the app stores.
• Android: Build an APK or AAB file and upload it to the Google Play Store.
• i OS: Build an IPA file and upload it to the Apple App Store.
Remember, friends, building mobile apps is a journey, not a destination. There will be challenges along the way, but don't give up! With persistence and a little bit of help from this guide, you'll be building amazing apps in no time.
Frequently Asked Questions About Flutter App Development
Got questions? Of course, you do! Let's tackle some of the common queries that often pop up when people are diving into Flutter.
• Question: Is Flutter really worth learning in 2024?
Answer: Absolutely! In 2024, Flutter remains a top choice for cross-platform app development. Its hot reload feature, impressive performance, and growing community make it a powerful tool. Data from recent developer surveys consistently ranks Flutter high in popularity and satisfaction, indicating it's a valuable skill to acquire.
• Question: How long does it take to learn Flutter well enough to build a decent app?
Answer: This depends on your prior programming experience. If you're new to coding, expect a steeper learning curve. However, with consistent effort, you can build a simple app in a few weeks. A more complex app might take a few months. The key is to practice regularly and focus on understanding the core concepts.
• Question: Can Flutter be used for complex, enterprise-level applications?
Answer: Yes! Flutter is definitely capable of handling complex, enterprise-level applications. Many large companies, like Alibaba and e Bay, are already using Flutter for their apps. Its robust architecture, state management solutions, and extensive library of packages make it suitable for building scalable and maintainable applications.
• Question: What are the biggest challenges beginners face when learning Flutter, and how can I overcome them?
Answer: One of the biggest challenges is understanding the widget-based architecture. Everything in Flutter is a widget, and learning how to compose them effectively takes time. Another challenge is state management. As your app grows, managing state can become complex. To overcome these challenges, focus on building small projects, practicing regularly, and exploring different state management solutions.
The Road Ahead: Your Flutter Future Awaits
And there you have it, friends! A comprehensive, step-by-step guide to building mobile apps with Flutter. We've covered everything from setting up your environment to deploying your app to the app stores. We've dived deep into the world of widgets, explored state management solutions, and even tackled some common questions. Now, it's time to put your newfound knowledge into action.
The world of mobile app development is constantly evolving, with new technologies and trends emerging all the time. But with Flutter, you have a powerful and versatile tool that will allow you to stay ahead of the curve. So, embrace the challenge, experiment with new ideas, and never stop learning.
Remember, the key to success is to start small and build from there. Don't try to build the next Facebook on your first day. Instead, focus on mastering the fundamentals and gradually tackling more complex projects. With each app you build, you'll gain more experience and confidence, and you'll be one step closer to becoming a Flutter master.
Now, here's your call to action: Pick one small app idea and start building it today! It could be a simple to-do list app, a basic calculator, or even a fun little game. The important thing is to get your hands dirty and start coding. And, I'd love to hear about your journey! Share your experiences, challenges, and successes in the comments below. Let's build a community of Flutter enthusiasts who support and inspire each other.
So, what are you waiting for? The future of app development is in your hands. Go forth and create something amazing! And remember, the only limit is your imagination. Are you ready to build the next big thing?
Post a Comment for "Step-by-Step Guide to Building Mobile Apps with Flutter"
Post a Comment