Beginner’s Guide to Creating Instagram Highlights
Crafting Captivating Instagram Highlights: A Beginner's Journey
Hey there, Instagram enthusiasts!
Ever feel like your amazing Instagram Stories disappear into the abyss after just 24 hours? You pour your heart and soul into creating those fleeting glimpses of your life, your brand, your culinary masterpieces… and thenpoof, gone! It's like throwing a party and forgetting to take pictures – all that effort, with nothing to show for it (except maybe a slight hangover). We’ve all been there, scrolling through our own profiles, thinking, "Man, I wish I could still see that story about…"
Or maybe you’re a business owner trying to build a brand, and you’re using Stories to showcase your products, announce sales, or share behind-the-scenes peeks. But those precious promotions are vanishing faster than free pizza at a tech convention. It's frustrating, right?
Here's the truth: Instagram Stories are powerful, but their ephemeral nature can be a real buzzkill. They’re designed to be temporary, to foster a sense of urgency and immediacy. But what if you want to showcase your best content for longer than a single day? What if you want to curate a collection of your most engaging moments, highlighting your personality, your brand, or your passions?
That’s where Instagram Highlights come in. Think of them as curated collections of your best Stories, permanently displayed on your profile, right below your bio. They’re like little digital scrapbooks, allowing you to showcase different aspects of your life or business in an organized and visually appealing way.
Imagine potential customers landing on your profile and instantly seeing a "Products" Highlight featuring your best-sellers, or a "Customer Reviews" Highlight showcasing glowing testimonials. Imagine your friends and family easily accessing your travel adventures or your DIY projects, neatly categorized and always available. That’s the power of Highlights!
But here's the kicker: many people either don't know how to use Highlights effectively, or they simply don't bother. They miss out on this incredible opportunity to showcase their best content, engage their audience, and build a stronger presence on Instagram. They're leaving valuable content on the table, like forgetting to take home the leftover cake from that amazing party!
So, how do you unlock the magic of Instagram Highlights? How do you create compelling collections that grab attention, tell your story, and keep your audience coming back for more? How do you avoid common pitfalls and create Highlights that truly shine?
Stick with us, friends, because we’re about to dive deep into the wonderful world of Instagram Highlights. We'll guide you through the entire process, from creating your first Highlight to designing eye-catching covers that perfectly represent your brand. Get ready to transform your profile and make your Instagram Stories work harder for you!
Beginner’s Guide to Creating Instagram Highlights
Okay, friends, let's get down to brass tacks. Creating Instagram Highlights isn't rocket science, but there's a bit of finesse involved in making them truly effective. Think of it as arranging flowers – anyone can stick them in a vase, but a skilled florist knows how to create a stunning arrangement that captures the eye and evokes emotion.
Before we jump into the "how-to," let's quickly recap why Highlights are so important. They're your opportunity to:
• Showcase your brand's personality.
• Highlight key information about your business.
• Engage your audience with valuable content.
• Drive traffic to your website or other platforms.
• Make a lasting first impression.
Basically, Highlights are your digital storefront, constantly working to attract and engage visitors. Now, let's build that storefront!
Creating Your First Instagram Highlight: A Step-by-Step Guide

Ready to immortalize your Instagram Stories? Here's how to create your first Highlight:
•Start with a Story:This might seem obvious, but you need at least one Story in your archive to create a Highlight. If you don't have any recent Stories, post something quickly! It can be a simple photo, a quick video, or even a text-based update.
•Access Your Archive:Head over to your profile page and tap the three horizontal lines in the top right corner. This opens the menu. Select Archive.If you don't see "Archive," go to Settings > Privacy > Story and make sure "Save to Archive" is toggled on. This is crucial! Without it, your Stories disappear forever.
•Choose Your Story (or Stories!):Browse through your archive and select the Story (or Stories) you want to add to your Highlight. You can select multiple Stories at once to create a Highlight with a collection of content.
•Create the Highlight:Once you've selected your Story(s), tap the "Highlight" button at the bottom of the screen.
•Name Your Highlight: A pop-up will appear asking you to name your Highlight. Choose a clear and descriptive name that accurately reflects the content within. Think about what your audience is searching for. For example, if you’re showcasing your products, name it “Products” or “Shop Now.” Avoid vague names like "Stuff" or Random.• Edit the Cover (Optional, but Highly Recommended!): This is where the magic happens! You can either use a frame from one of the Stories in your Highlight as the cover, or you can upload a custom image. Wehighlyrecommend creating custom covers that align with your brand's aesthetic. This makes your profile look professional and visually appealing.
•Hit "Add" and You're Done! Your Highlight is now live on your profile, ready for the world to see!
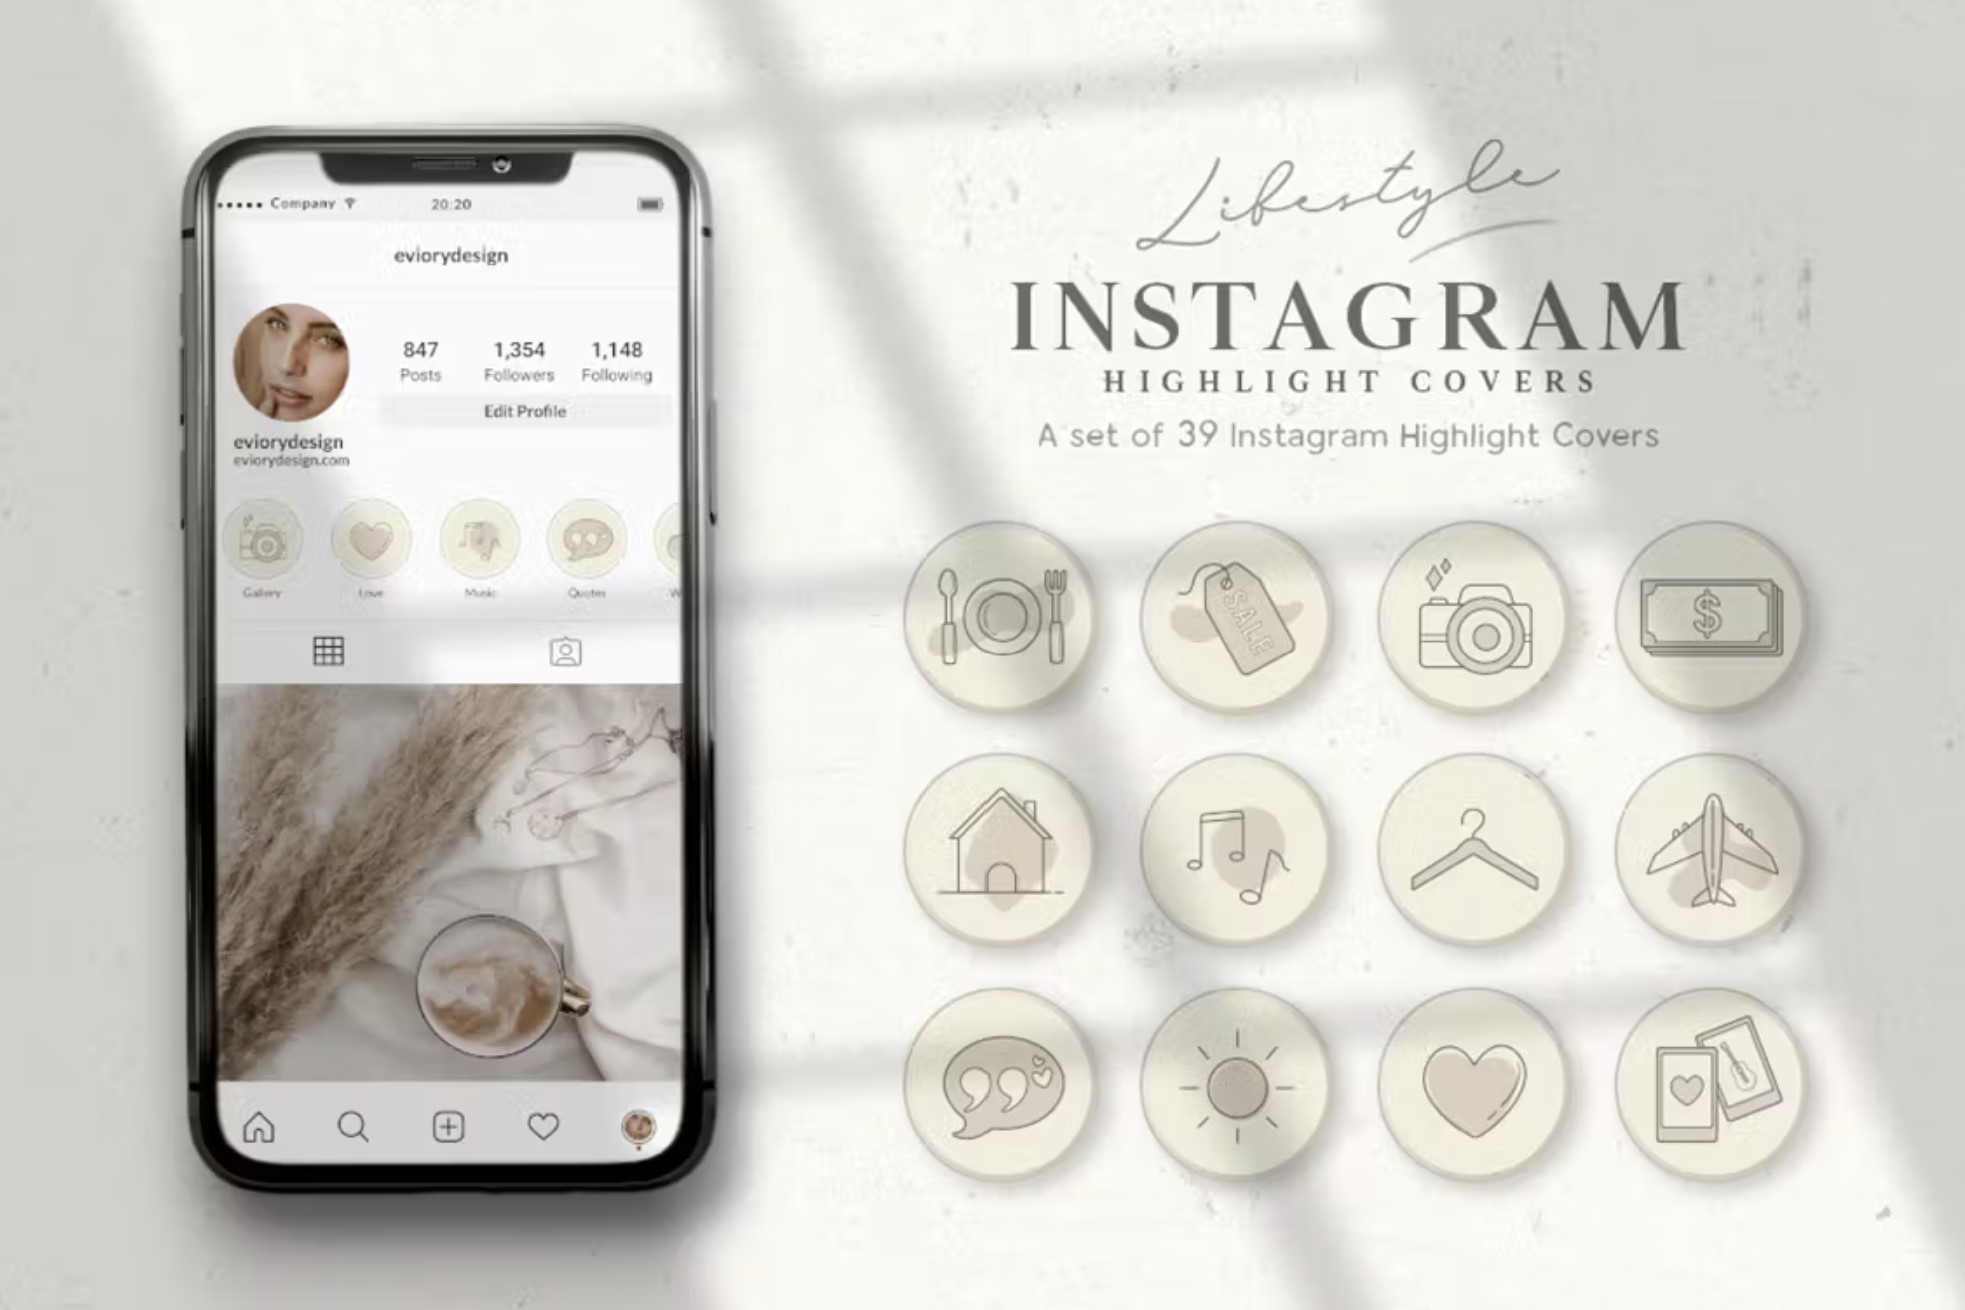
Crafting Compelling Highlight Covers: Visual Appeal Matters!
As we mentioned earlier, Highlight covers are crucial for creating a visually appealing and professional Instagram profile. Think of them as the book covers of your digital scrapbook. They need to be eye-catching and accurately represent the content within.
•Maintain Brand Consistency:Your Highlight covers should align with your brand's overall aesthetic. Use the same colors, fonts, and imagery that you use in your other marketing materials. This helps to create a cohesive and recognizable brand identity.
•Use Icons and Illustrations:Consider using simple icons or illustrations to represent the content of each Highlight. This can make your covers more visually appealing and easier to understand at a glance. There are tons of free icon resources online.
•Keep it Simple:Avoid cluttering your covers with too much text or too many images. A clean and minimalist design is often the most effective.
•Use High-Quality Images:Make sure your covers are high-resolution and crisp. Blurry or pixelated images will make your profile look unprofessional.
•Create a Template:To maintain consistency, create a template for your Highlight covers. This will ensure that all of your covers have the same dimensions, colors, and fonts.
You can easily create Highlight covers using apps like Canva, Adobe Spark Post, or even Instagram Stories itself. Simply create your designs, save them to your camera roll, and then upload them as the cover for your Highlight.
Content is King (and Queen!): What to Include in Your Highlights
Now that you know how to create Highlights and design eye-catching covers, let's talk about the most important part: the content! What should you actuallyputin your Highlights?
•Product Showcases:If you sell products, create a Highlight showcasing your best-sellers, new arrivals, or special offers. Include photos, videos, and descriptions of each product.
•Customer Reviews and Testimonials:Nothing builds trust like social proof. Create a Highlight featuring positive reviews and testimonials from your satisfied customers.
•Behind-the-Scenes Peeks:Give your audience a glimpse behind the curtain. Share photos and videos of your workspace, your team, or your manufacturing process.
•Frequently Asked Questions (FAQs):Answer common questions about your business, your products, or your services. This can save you time and effort in the long run.
•Tutorials and How-To Guides:Share valuable tips and tricks related to your industry or niche. This positions you as an expert and provides value to your audience.
•Events and Announcements:Promote upcoming events, product launches, or special announcements.
•Personal Stories and Experiences:Share personal stories and experiences that resonate with your audience. This helps to build a connection and foster a sense of community.
•Travel Adventures:Document your travels and share your favorite moments with your followers.
•DIY Projects:Showcase your creative talents and inspire others to try new things.
The key is to create Highlights that are relevant, engaging, and valuable to your target audience. Think about what they want to see and what information they need. And remember to keep your content fresh and updated!
Promoting Your Highlights: Let People Know They Exist!
You've created amazing Highlights, but how do you make sure people actually see them? Here are a few tips for promoting your Highlights:
•Announce New Highlights in Your Stories:When you create a new Highlight, announce it in your Stories. Use stickers, GIFs, and text to draw attention to it.
•Add Highlights to Your Bio:Include a call to action in your bio, encouraging people to check out your Highlights. For example, you could write "Learn more about us in our Highlights!"
•Mention Highlights in Your Posts:If you have a post that relates to a particular Highlight, mention it in the caption. For example, you could write "Check out our "Products" Highlight for more details!"
•Use Highlight Stickers:When you're creating a Story, use the Highlight sticker to directly link to a specific Highlight.
•Collaborate with Other Accounts:Partner with other accounts in your niche to cross-promote each other's Highlights.
By actively promoting your Highlights, you can drive more traffic to your profile, engage your audience, and ultimately achieve your Instagram goals.
Analyzing Your Highlight Performance: Track What Works
Like any marketing effort, it's important to track the performance of your Instagram Highlights. This will help you understand what's working and what's not, so you can optimize your content and strategies accordingly.
•Check Your Highlight Views:Instagram provides basic analytics for your Highlights, including the number of views each Highlight has received. This can give you a general sense of which Highlights are the most popular.
•Pay Attention to Story Insights:You can also track the performance of individual Stories within your Highlights. Look at metrics like reach, impressions, and replies to see which Stories are resonating with your audience.
•Experiment with Different Content:Don't be afraid to experiment with different types of content in your Highlights. Try different formats, topics, and styles to see what works best for your audience.
•Ask for Feedback:Ask your followers for feedback on your Highlights. What do they like? What could you improve?
By analyzing your Highlight performance and constantly iterating, you can create a powerful and effective Instagram presence that drives engagement, builds your brand, and achieves your business goals.
Frequently Asked Questions About Instagram Highlights

•*Can I reorder the Stories within a Highlight?
Yes! Just tap and hold on a Highlight, select "Edit Highlight," then tap "Edit" under Stories.From there, you can drag and drop the Stories to rearrange them in your desired order.
•*How many Highlights can I have?
Instagram doesn't impose a limit on the number of Highlights you can create. Go wild! (But maybe keep it organized for the sake of your viewers!)
•*Can I see who viewed my Highlights?
You can see who viewed each individual Story within a Highlight for 48 hours after it was originally posted as a Story. After that, you'll only see the total view count for the Highlight itself.
•Can I add old Stories to Highlights?
Absolutely! As long as you have the "Save to Archive" setting enabled (Settings > Privacy > Story), all of your past Stories are stored in your archive and can be added to Highlights at any time.
So, there you have it, friends! A comprehensive beginner's guide to creating captivating Instagram Highlights. We've covered everything from the basics of creating a Highlight to designing eye-catching covers and promoting your content. Now it's your turn to put these tips into action and transform your Instagram profile into a visual masterpiece.
Remember, Instagram Highlights are a powerful tool for showcasing your brand, engaging your audience, and building a stronger presence on the platform. Don't let this opportunity pass you by. Start creating your Highlights today and watch your engagement soar!
Now that you're armed with the knowledge and inspiration to create stunning Instagram Highlights, what are you waiting for? Head over to your profile, dust off those old Stories, and start curating your best moments. Your audience is waiting to be amazed!
Ready to take your Instagram game to the next level? We encourage you to start with creating just ONE engaging highlight today. What topic will you choose?
Post a Comment for "Beginner’s Guide to Creating Instagram Highlights"
Post a Comment