Step-by-Step Guide to Building Mobile Apps with Flutter
Flutter Mastery: A Step-by-Step Guide to Building Stunning Mobile Apps
Hello there, future app developers!
Ever felt that pang of envy watching folks launch their own apps, thinking, "I wish I could do that"? Or maybe you've got this killer app idea brewing in your mind, something that could genuinely make people's lives easier, more fun, or just plain better. But then reality hits: the dreaded coding wall. It seems like you need to be a tech wizard fluent in a dozen arcane languages just to get started, right? Well, not anymore!
Let's be honest, mobile app development used to be a bit of a nightmare. Juggling different coding languages for i OS and Android was like trying to pat your head and rub your stomach at the same time – complicated and prone to embarrassing stumbles. Remember the days when you needed separate teams, separate codebases, and twice the headaches to reach both i Phone and Android users? It was a recipe for budget blowouts and endless delays. You'd spend more time wrestling with platform compatibility than actually building your brilliant app.
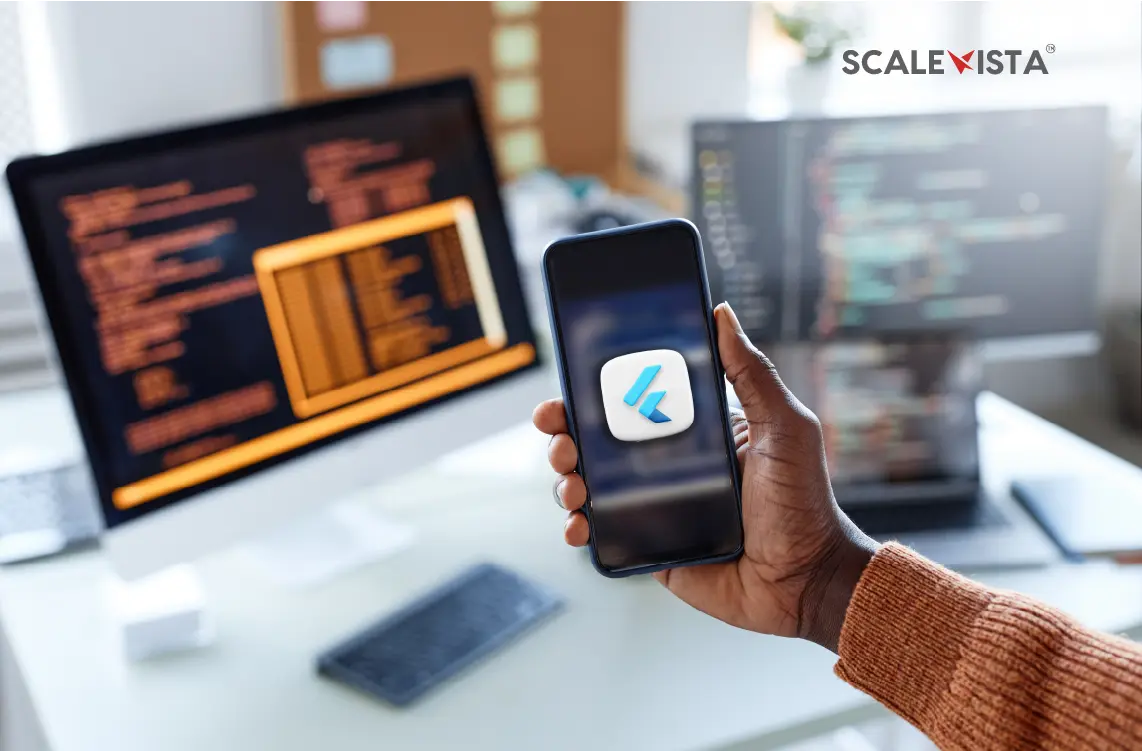
But times have changed, my friends! Enter Flutter, Google's revolutionary UI toolkit that's making app development accessible to everyone. Imagine being able to write code once and deploy it on both i OS and Android, with beautiful, native-feeling performance. Sounds like magic, doesn't it? Well, it's not quite magic, but it's pretty darn close!
Flutter is more than just a cross-platform tool; it's a complete framework packed with pre-built widgets, powerful tools, and a vibrant community. It lets you build stunning user interfaces with incredible speed, thanks to its hot reload feature – meaning you can see your changes instantly without having to restart your app. Think of it as instant gratification for developers! And the best part? Flutter's open-source and completely free to use.
So, whether you're a complete beginner with zero coding experience or a seasoned developer looking to streamline your workflow, Flutter is your ticket to the mobile app revolution. Forget those old notions of app development being a complex, exclusive club. With Flutter, you can bring your app ideas to life, reach a wider audience, and even potentially launch your own successful business – all without breaking the bank or losing your sanity.
But where do you even begin? That's where this step-by-step guide comes in. We're going to break down the process of building mobile apps with Flutter into manageable, bite-sized chunks, making it easy for anyone to follow along. We'll start with the basics, cover the essential concepts, and guide you through the creation of your very own Flutter app. We’ll explore current trends and best practices. And by the end, you'll have the knowledge and confidence to tackle your own app development projects. Are you ready to unlock your inner app developer and turn your ideas into reality? Let's dive in!
Your Flutter Journey: A Step-by-Step Guide
So, you're itching to build your own mobile app with Flutter? Awesome! Let's break down the process into manageable steps, making it less intimidating and more… well, fun! Think of this as your personal Flutter roadmap, guiding you from beginner to app-building extraordinaire.
Setting Up Your Flutter Development Environment
Before you can start coding, you need to set up your development environment. Don't worry; it's not as scary as it sounds!
• Install Flutter SDK: This is the heart of Flutter. Download the Flutter SDK from the official Flutter website (flutter.dev) and follow the installation instructions for your operating system (Windows, mac OS, or Linux). Make sure to add Flutter to your system's PATH variable so you can access it from the command line. Think of it like adding a special ingredient to your cooking recipe – you need it to make the dish work!
• Choose Your Code Editor: You'll need a code editor to write your Flutter code. Popular choices include Visual Studio Code (VS Code) and Android Studio. VS Code is lightweight and versatile, while Android Studio is a more comprehensive IDE (Integrated Development Environment) specifically designed for Android development, which integrates Flutter perfectly. Personally, I'm a fan of VS Code with the Flutter extension – it's simple and effective. But hey, the choice is yours! Experiment and see what feels right.
• Install Flutter and Dart Plugins: Once you've chosen your code editor, install the Flutter and Dart plugins. These plugins provide code completion, syntax highlighting, debugging tools, and other helpful features that will make your life as a Flutter developer much easier. It's like having a personal assistant who anticipates your needs and helps you write code faster and more efficiently.
• Set Up an Emulator or Connect a Physical Device: You'll need a way to test your Flutter app. You can use an emulator (a virtual device that runs on your computer) or connect a physical device (like your smartphone) to your computer. Emulators are convenient for testing on different screen sizes and Android versions, while physical devices provide a more realistic testing environment. For i OS development, you'll need a Mac and Xcode to run the i OS simulator. Pro tip: testing on a physical device is always recommended for the most accurate user experience.
Understanding Flutter Basics: Widgets, Layouts, and State Management
Now that you have your development environment set up, it's time to dive into the core concepts of Flutter.
• Widgets are Everything: In Flutter, everything is a widget! Buttons, text, images, layouts – all are widgets. Widgets are like LEGO bricks – you can combine them to create complex user interfaces. There are two main types of widgets: stateless widgets (which don't change over time) and stateful widgets (which can change in response to user interaction or data updates). Think of stateless widgets as static elements, like a label, and stateful widgets as dynamic elements, like a button that changes color when pressed.
• Layouts with Rows, Columns, and Containers: Flutter provides a rich set of layout widgets to arrange your UI elements. Rows and columns arrange widgets horizontally and vertically, respectively. Containers allow you to add padding, margins, borders, and other visual properties to your widgets. Mastering layouts is crucial for creating visually appealing and responsive UIs. Imagine arranging furniture in a room – you need to consider the space and how the pieces fit together. Layout widgets help you do the same with your UI elements.
• State Management: Managing the state of your app is essential for building dynamic and interactive experiences. Flutter offers various state management solutions, including set State (for simple apps), Provider, Riverpod, and BLo C (Business Logic Component) for more complex apps. State management helps you keep your UI in sync with your app's data. It’s like having a central control panel for your app, where you can track and update all the important information.
• Navigating Between Screens: Almost every app has multiple screens or pages. Flutter provides a Navigator widget that allows you to navigate between screens. You can use named routes or direct navigation to move between screens. Navigation is like driving a car – you need to know where you're going and how to get there. The Navigator widget helps you guide users through your app.
Building Your First Flutter App: A Simple Counter App
Let's put your newfound knowledge into practice by building a simple counter app.
• Create a New Flutter Project: Open your terminal or command prompt and run the command `flutter create my_counter_app`. This will create a new Flutter project with all the necessary files and folders. This is like laying the foundation for your house – you need a solid base to build upon.
• Explore the `main.dart` File: Open the `main.dart` file in your code editor. This file contains the entry point of your app and the initial UI code. You'll see a basic app structure with a `My App` widget and a `My Home Page` widget. This is the blueprint of your app – it defines the basic structure and behavior.
• Implement the Counter Logic: Modify the `My Home Page` widget to include a `_counter` variable and a `_increment Counter` method. The `_counter` variable will store the current count, and the `_increment Counter` method will increment the count and update the UI using `set State`. This is the heart of your app – it defines how the counter works and how the UI responds to user interaction.
• Design the UI: Use Flutter widgets like `Scaffold`, `App Bar`, `Text`, and `Floating Action Button` to create the UI of your counter app. The `Scaffold` provides a basic app structure with an app bar and a body. The `App Bar` displays the app title. The `Text` widget displays the counter value. And the `Floating Action Button` triggers the `_increment Counter` method. This is the visual representation of your app – it defines how the app looks and feels.
• Run Your App: Connect your device or start an emulator and run the command `flutter run`. This will build and run your app on your device or emulator. Congratulations! You've built your first Flutter app! This is the moment of truth – you get to see your app come to life and interact with it.
Adding Interactivity and Data Handling
Let's make your app more interactive and learn how to handle data.
• Handling User Input with Text Fields and Buttons: Flutter provides widgets like `Text Field` and `Elevated Button` to handle user input. You can use these widgets to create forms, collect data, and trigger actions based on user input. Think of `Text Field` as a blank canvas where users can enter information, and `Elevated Button` as a trigger that initiates an action when pressed.
• Working with Lists and Data: Learn how to display lists of data using widgets like `List View` and `Grid View`. You can populate these lists with data from local sources or external APIs. Lists are like collections of items – you can display them in a variety of ways, depending on your needs.
• Fetching Data from APIs: Most real-world apps need to fetch data from external APIs. Flutter provides packages like `http` and `dio` to make HTTP requests and parse JSON data. This allows you to integrate your app with backend services and display dynamic content. Think of APIs as bridges that connect your app to the outside world, allowing you to access and display information from other sources. Make sure to handle API keys securely, using environment variables or secure storage.
• Saving Data Locally with Shared Preferences: Learn how to save data locally on the device using `Shared Preferences`. This is useful for storing user preferences, app settings, and other small pieces of data. `Shared Preferences` is like a small notepad where you can jot down important information and retrieve it later. For more complex data storage, consider using SQLite databases. Be mindful of data privacy and security when storing sensitive information locally.
Styling and Theming Your Flutter App
Let's make your app look beautiful with styling and theming.
• Using Colors, Fonts, and Images: Flutter provides a wide range of options for styling your app. You can use colors, fonts, and images to create a visually appealing and consistent user interface. Styling is like decorating your house – it's all about adding personal touches and creating a pleasant atmosphere.
• Creating Custom Themes: Define custom themes to apply consistent styling across your app. Themes allow you to easily change the look and feel of your app with a single change. This is like choosing a color palette for your house – it ensures that all the elements complement each other and create a cohesive look.
• Implementing Responsive Design: Ensure that your app looks good on different screen sizes and orientations by implementing responsive design principles. Use `Media Query` and `Layout Builder` to adapt your UI to different screen sizes. Responsive design is like tailoring a suit – it ensures that it fits perfectly, no matter the size or shape of the wearer.
Testing and Debugging Your Flutter App
No app is perfect from the start. Testing and debugging are essential for ensuring the quality and stability of your app.
• Writing Unit Tests: Write unit tests to verify that individual components of your app are working correctly. Unit tests help you catch bugs early in the development process. Unit tests are like checking the individual parts of a machine to make sure they're all working as expected.
• Using Flutter's Debugging Tools: Flutter provides a powerful set of debugging tools that can help you identify and fix bugs in your code. Use the debugger to step through your code, inspect variables, and analyze performance. Debugging is like being a detective – you need to gather clues and analyze the evidence to solve the mystery.
• Handling Errors and Exceptions: Implement error handling and exception handling to prevent your app from crashing when unexpected errors occur. Use `try-catch` blocks to catch exceptions and display user-friendly error messages. Error handling is like having a safety net – it protects your app from falling apart when things go wrong.
Publishing Your Flutter App
You've built your app, tested it, and polished it. Now it's time to share it with the world!
• Preparing Your App for Release: Before publishing your app, you need to prepare it for release. This includes setting the app icon, updating the app name, and configuring the app's build settings. This is like getting your house ready for a party – you need to make sure it looks its best and that everything is in order.
• Building Your App for i OS and Android: Build your app for i OS and Android using the `flutter build` command. This will generate the necessary files for submitting your app to the App Store and Google Play Store. This is like packaging your product for sale – you need to make sure it's ready to be shipped to customers.
• Publishing to the App Store and Google Play Store: Follow the instructions on the App Store and Google Play Store to submit your app for review. Be prepared to answer questions and address any issues that are raised during the review process. Publishing your app is like launching your business – it's the culmination of all your hard work and effort.
Flutter FAQs
Let's tackle some frequently asked questions about Flutter.
• Q: Is Flutter suitable for building complex apps?
• A: Absolutely! Flutter is designed to handle complex app development. Its widget-based architecture, rich set of tools, and state management solutions make it well-suited for building large-scale applications with intricate features and functionalities. Many companies are migrating their apps to Flutter because of this.
• Q: How does Flutter compare to React Native?
• A: Both Flutter and React Native are popular cross-platform frameworks, but they have some key differences. Flutter uses Dart, while React Native uses Java Script. Flutter offers better performance and a more consistent UI across different platforms, while React Native has a larger community and more readily available libraries. Ultimately, the best choice depends on your specific project requirements and your team's expertise.
• Q: Can I use native code in my Flutter app?
• A: Yes, you can! Flutter allows you to integrate with native code using platform channels. This is useful for accessing platform-specific features or integrating with existing native libraries. It's like having a translator that allows you to communicate with different languages – you can seamlessly integrate native code into your Flutter app.
• Q: How often is Flutter updated?
• A: Flutter is actively maintained by Google and has a regular release cycle. New versions of Flutter are typically released every few months, with bug fixes and minor updates released more frequently. This ensures that Flutter remains up-to-date with the latest technologies and best practices. Keeping your Flutter SDK up to date is crucial for accessing the latest features and security updates.
Wrapping Up: Your Flutter Future Awaits!
Well, friends, we've reached the end of our Flutter journey together. We've covered a lot of ground, from setting up your development environment to building your first app and even preparing it for release. We've explored widgets, layouts, state management, data handling, styling, testing, and debugging. You now possess the fundamental knowledge and skills to embark on your own Flutter adventures!
Remember, the key to mastering Flutter, like any skill, is practice. Don't be afraid to experiment, try new things, and make mistakes. Every error is a learning opportunity, a chance to deepen your understanding and improve your skills. The Flutter community is incredibly supportive and welcoming, so don't hesitate to ask for help when you get stuck. There are tons of online resources, tutorials, and forums where you can connect with other Flutter developers and learn from their experiences.
Now is the time to take action! Don't let your newfound knowledge gather dust. Pick a project, no matter how small or simple, and start building. Maybe it's a to-do list app, a personal finance tracker, or even a game. The possibilities are endless! The important thing is to get your hands dirty, write some code, and see your ideas come to life.
So, what's your next step? Share your app ideas in the comments below and let's inspire each other!
Post a Comment for "Step-by-Step Guide to Building Mobile Apps with Flutter"
Post a Comment