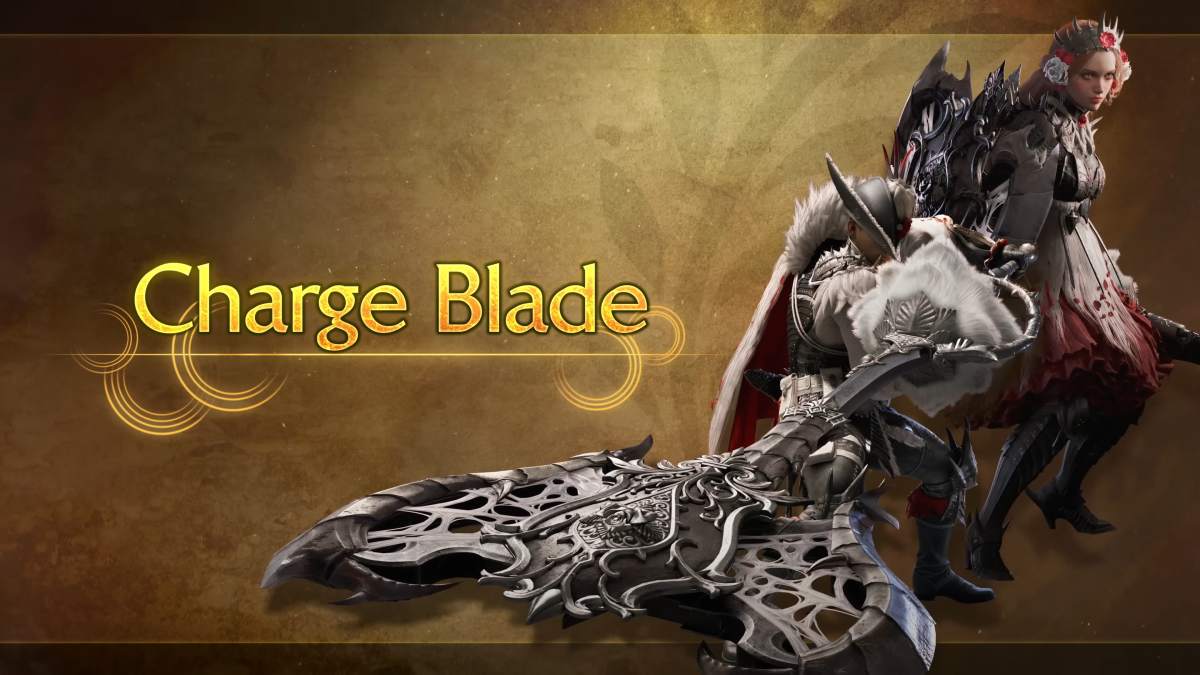
Monster Hunter Wilds: Ultimate Charge Blade Builds for Endgame
Overview of Monster Hunter Wilds
Monster Hunter Wilds has seen a significant update with Title Update 2, which introduced two new monsters and their respective armor sets. Additionally, the Flamefete Seasonal Event recently released, offering a variety of new armor sets and introducing Arch-Tempered Uth Duna. The MH Wilds Meta Reddit community has been busy analyzing the new content and crunching numbers to determine the best endgame builds for various weapons. This is part of a series that explores the top endgame builds for different weapons, starting with the Charge Blade.
What Changed?
Title Update 2 brought a balance pass focused on status application, increasing the status thresholds for many monsters. This change made Blast, Poison, Sleep, and Paralysis slightly less effective against certain monsters. While the Raw/Status weapon type remains the best-in-slot as a generalist option, Elemental weapons now shine more in specific matchups. TU2 also included several weapon balance changes, notably for the Charge Blade. Sword mode attacks and phial explosions from Amped Element Discharge into Super Amped Element Discharge received a significant damage boost, while the damage from Savage/Power Axe's ticks was reduced. As a result, skills like Artillery have become more valuable than before.
Monster Matchups
Currently, there are two main best-in-slot (BiS) Charge Blade builds: Raw and Elemental. Each has its strengths and weaknesses, and the better option often depends on the matchup. Factors such as how easily you can hit elemental weak points, the monster’s resistance to certain elements or statuses, and uptime based on a monster's moveset all play a role in determining which build performs better.
Here's a quick cheat sheet of which builds, specific elements, and hitzones to target are best for each monster matchup:
Savage/Power Axe Playstyle:
- Ajarakan (Head) - Water
- Arkveld (Head) - Raw
- Balahara (Head) - Thunder
- Blangonga (Head) - Fire
- Chatacabra (Head) - Raw
- Congalala (Head) - Fire
- Doshaguma (Head) - Fire
- Gore Magala (Head) - Fire
- Gravios (Belly) - Water
- Guardian Doshaguma (Arms) - Dragon
- Guardian Ebony Odogaron (Head) - Water
- Guardian Fulgur Anjanath (Head) - Ice
- Guardian Rathalos (Legs) - Dragon
- Gypceros (Head) - Fire
- Hirabami (Head) - Fire
- Jin Dahaad (Head) - Fire
- Lagiacrus (Head) - Fire
- Lala Barina (Head) - Fire
- Mizutsune (Head) - Raw
- Nerscylla (Head) - Fire
- Nu Udra (Head) - Raw
- Quematrice (Head) - Raw
- Rathalos (Head) - Dragon
- Rathian (Head) - Dragon
- Rey Dau (Head) - Ice
- Rompopolo (Head) - Water
- Seregios (Legs) - Thunder
- Uth Duna (Foreleg) - Raw
- Xu Wu (Head) - Ice
- Yian Kut-Ku (Torso or Wings) - Raw
- Zoh Shia (Head) - Dragon
The Builds
With all the matchips covered, here are the best builds. These builds are mostly tailored to Savage/Power Axe mode, but we've included a section for SAED playstyles below:
Raw
Weapon Options Starting with the weapon, the BiS option for Raw remains a well-rolled Artian Weapon. For general use, the best setup is 3 Attack Infusions with reinforcement rolls of 3-4 Attack Boost and 1-2 Sharpness Boost. Blast, Poison, Sleep, and Paralysis are all viable options, with Blast and Paralysis outperforming the other two significantly. The choice between Blast and Paralysis is a matter of monster status resistance and personal preference.
In case you don't have a well-rolled Artian weapon, the Zoh Shia Charge Blade, Blazing Yirmiya, is a good alternative option.
Armor Set & Decorations The Raw BiS armor setup remains largely unchanged from previous versions of the game, with 4pc Gore Magala and a Zoh Shia chestpiece still being the best option. Below are all the armor pieces and decorations needed:
This setup brings your affinity up to around 85%, while also providing a good boost to phial damage through the Artillery skill. There is an extra level 1 Decoration slot you can use for a quality-of-life armor skill such as Shockproof, Adaptability, or Divine Protection.
This setup also makes use of some quality-of-life skills such as Load Shells, Handicraft, and Rapid Morph. You can also opt out of using the QoL skills by doing the following:
- Replace the Magazine/Handicraft Jewel with a Magazine/Attack Jewel.
- Replace the Quickswitch/Handicraft Jewel with either a Guardian/Attack Jewel or a Critical Jewel III.
As mentioned earlier, Blazing Yirmiya is an alternative weapon for the Raw set. Here's the decoration setup if running that option:
Depending on personal preference, a Magazine Jewel II and a Quickswitch/Handicraft Jewel are also options worth considering for the Decorations of this weapon.
Elemental
Weapon Options For Elemental matchups, a well-rolled Artian Weapons remains king. For elemental Artian Weapons, the ideal setup is 3 Attack Infusions with 3-4 Element Boost and 1-2 Sharpness Boost reinforcement rolls.
Given the RNG nature of Artian Weapons, we've provided a list of some craftable alternatives for each Element, just in case your Artian reinforcement rolls aren't going great. Note that for most setups, even just 3 Elemental Boost reinforcement rolls will outright beat most of the craftable options.
| Element/Status | Craftable Weapon | |----------------|------------------| | Fire | Guardian Albathos | | Water | Final Fieldblade | | Thunder | Lagia Storm I | | Ice | None (Ice has no good craftable options) | | Dragon | Blazing Yirmiya | | Blast | Lala Eumenophorbu | | Paralysis | None (Blast has no good craftable options) |
Armor Set & Decorations While the Elemental playstyle still generally favors Savage/Power Axe, we've also included a setup for an AED/SAED spamming build below. Both setups deal a good amount of DPS, but Savage/Power Axe still almost always beats the AED/SAED playstyle.
Check out the armor pieces and decorations for the builds below, starting with the Savage/Power Axe playstyle:
The BiS Elemental setup is exactly the same as the Raw setup, save for the weapon and its Decorations. The Stream/Handicraft Jewel should be replaced with another Jewel of the appropriate Element for other setups.
The weapon Decorations used for the different Elements are the same as the Chrono Gear in the photo above, with Stream/Shield jewel being replaced with whichever Element is needed for a particular weapon. For crafted weapons, each weapon has a different set of available Decoration slots, so it's hard to find a one-size-fits-all setup. Prioritize getting the following skills:
- Load Shells 2 through a Magazine II Jewel or Magazine/Ironwall Jewel.
- Focus 3 through a Focus/Handicraft Jewel, or a mixture of a Focus II Jewel and a Focus I Jewel.
- Fire/Thunder/Ice/Water/Dragon Attack through the appropriate Blaze/Bolt/Frost/Stream/Dragon Jewel.
Also try to fit in Guard and Guard Up through 3-slot Jewels that grant them as a secondary effect. The bonuses provided by Guard and Guard Up are a massive boon to the AED/SAED playstyle, do to heavier and normally unblockable attacks turning into windows for a Guard Point or Perfect Block that can be chained into an SAED.
That covers all the best sets for Charge Blade as of Title Update 2 of Monster Hunter Wilds. Keep an eye out for our other guides covering the other weapons. Monster Hunter Wilds will also be seeing another balance pass in an upcoming patch this August, so stay tuned for more news, guides, and updates!
Post a Comment for "Monster Hunter Wilds: Ultimate Charge Blade Builds for Endgame"
Post a Comment