Step-by-Step Guide to Using WordPress Gutenberg Editor
Mastering Word Press Gutenberg: A Step-by-Step Guide to Effortless Content Creation
Tired of clunky page builders? Unlock the power of Word Press with ourcomprehensivestep-by-step guide to the Gutenberg editor. Learn to create beautiful, engaging content with ease, even if you're a complete beginner.
Step One
Title: Unlocking Gutenberg: A Step-by-Step Guide to Word Press's Block Editor.
Step Two
Hey there, fellow content creators! Let's talk about something that can either make you cheer or make you tear your hair out: the Word Press Gutenberg editor. Remember the days when Word Press was just a simple text box? Ah, nostalgia! But times have changed, and so has Word Press. Now we have Gutenberg, ablock-basededitor designed to make building websites and creating content easier. Easier in theory, anyway!
Let’s be real; when Gutenberg first rolled out, it was… well, let's just say it wasn't love at first sight for everyone. Many users found the interface confusing, the block system cumbersome, and the overall experience less than intuitive. Imagine trying to bake a cake with instructions written in hieroglyphics. Frustrating, right? People were used to the classic editor, with its familiar toolbar and straightforward formatting options. Gutenberg felt like learning a whole new language.
But here's the thing: Gutenberg ispowerful. Once you get the hang of it, you can build stunning pages and engaging content with surprising ease. It allows for far greater flexibility and customization than the classic editor ever did. Think of it as upgrading from a rusty old bicycle to a sleek, modern sports car. There's a learning curve, sure, but the ride issomuch better once you get the hang of it.
The problem is, most tutorials out there are either too technical, too brief, or just plain boring. They throw around jargon like "DOM manipulation" and "JSON schemas" and expect you to understand it all. Who needs that? We need a simple, step-by-step guide that walks you through the basics, answers your burning questions, and helps you unlock thetruepotential of Gutenberg.
And that's exactly what we're going to do here. This guide is designed foryou, whether you're a complete beginner or a seasoned Word Press pro looking to finally conquer Gutenberg. We'll break down everything you need to know, from understanding the block system to creating stunning layouts.
We'll tackle the common frustrations, like trying to align images perfectly (whydoesthat text keep wrapping weirdly?) and figuring out how to add custom CSS (whatis CSS anyway?). We’ll use real-world examples and plain language, so you won’t need a degree in computer science to follow along.
Think of this as your friendly guide to navigating the Gutenberg galaxy. We’ll explore the different planets (blocks), learn how to pilot the spaceship (editor), and ultimately, create amazing content that shines brighter than a supernova (okay, maybe not quite that bright, but you get the idea!).
So, grab a cup of coffee (or tea, if that's your thing), settle in, and get ready to transform your Word Press experience. Ready to finally tame the Gutenberg beast and create amazing content? Let's dive in! You might be surprised at how much you'll actuallyenjoyit. What if Gutenberg could actually befun? Keep reading to find out!
Step Three
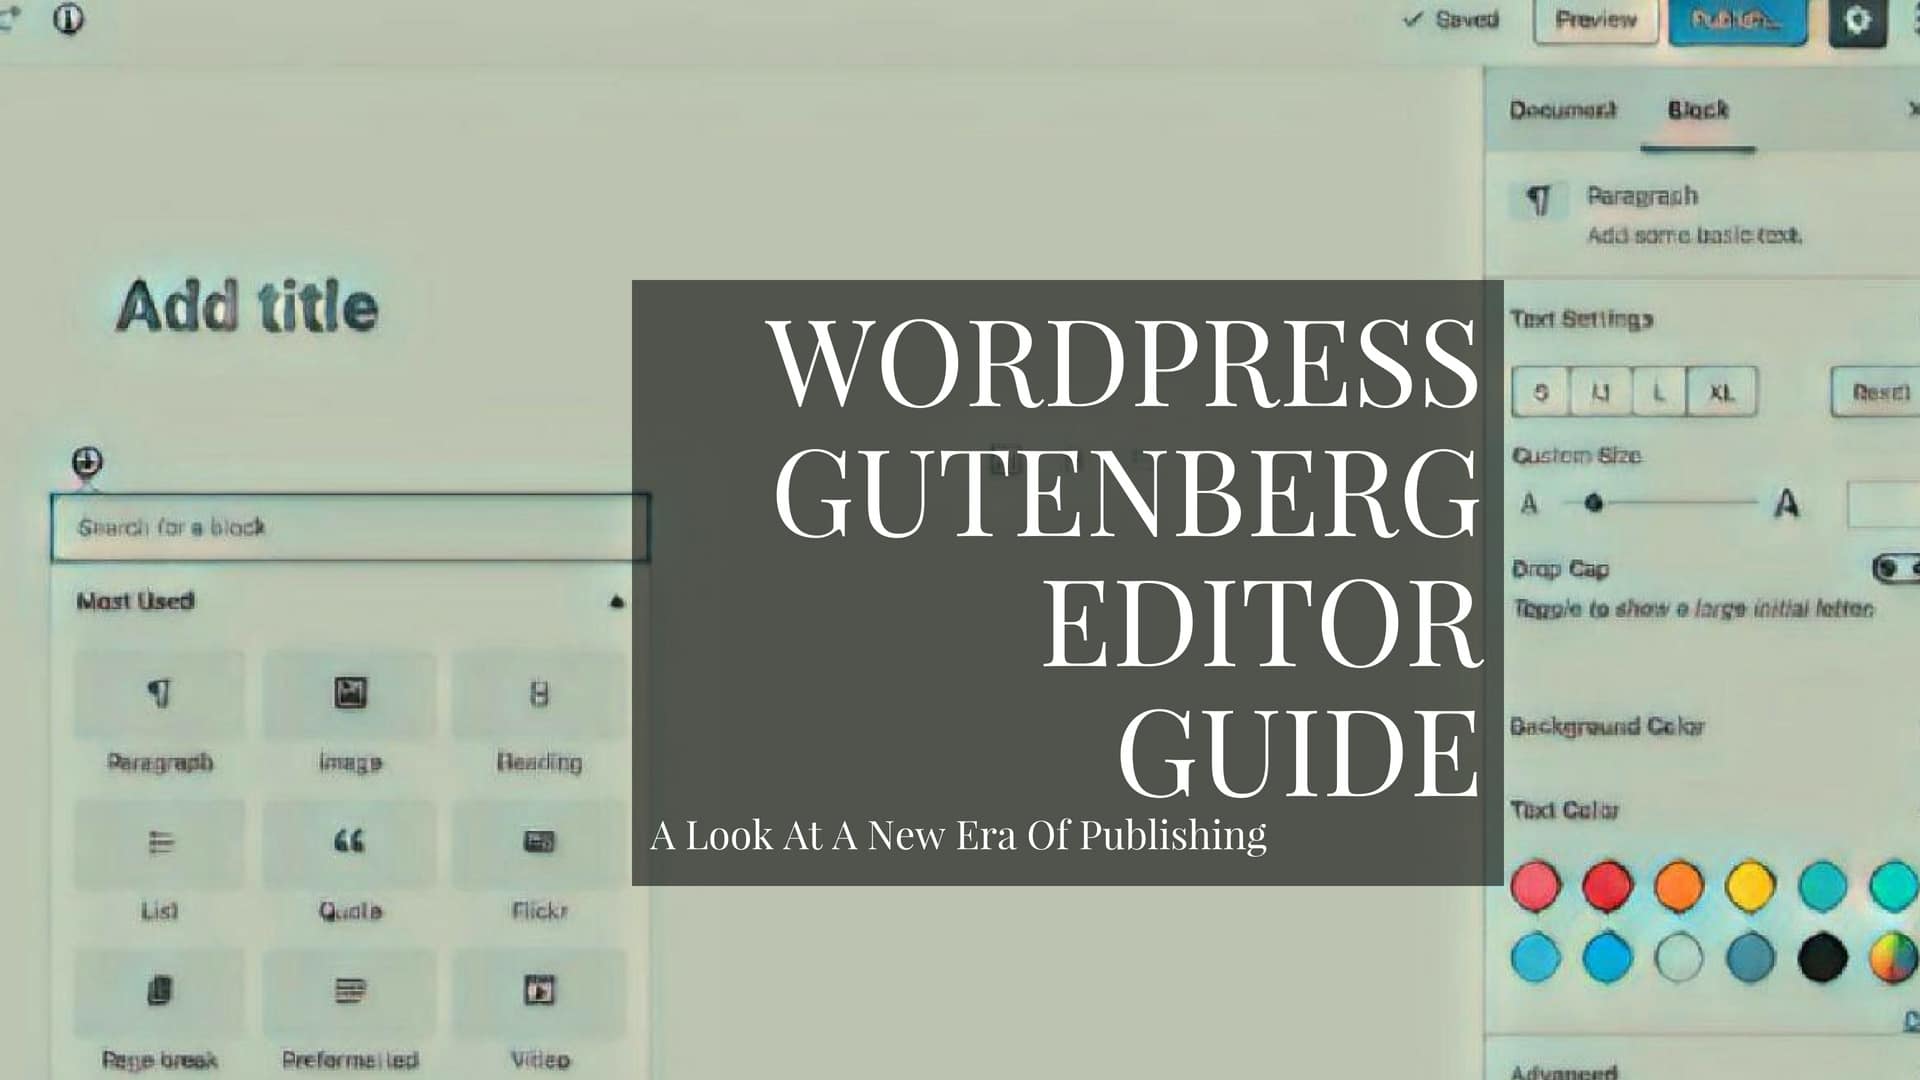
Understanding the Gutenberg Interface:Your New Word Press Playground
The Gutenberg editor is like a digital playground, but instead of swings and slides, you have blocks! Let's get familiar with the key areas: The Top Toolbar: This is your command center. Here, you'll find the Add Blockbutton (the plus sign), the Undoand Redobuttons, the Content Structureicon (for navigation), the Block Navigationbutton (handy for complex layouts), the Settingsicon (the gear), and the Publish/Updatebutton. Think of it as the dashboard of your content creation spaceship. The Main Content Area: This is where the magic happens! Here, you'll see your content laid out in blocks. Each paragraph, image, heading, or video is contained within its own block. You can click on a block to edit its content or move it around. This is your canvas, your digital playground for all things content. The Sidebar (Settings Panel):Click the Settingsicon in the top toolbar to reveal the sidebar. This area provides block-specific settings (for example, font size for a paragraph block, or image alt text for an image block) as well as document-wide settings (like featured image, categories, and tags). Consider it your toolbox.
Example: Imagine you’re writing a blog post about your recent trip to Italy. The top toolbar helps you add new paragraphs describing the delicious pasta, the main content area is where you actually write about the pasta, and the sidebar allows you to set a featured image of the Colosseum and add the category “Travel.”
Adding and Managing Blocks: Building Your Content Brick by Brick
Gutenberg is all about blocks! These are the building blocks of your content, and mastering them is key to using the editor effectively.
Adding Blocks: There are several ways to add a block. You can click the Add Blockbutton in the top toolbar, click the plus sign within an existing block, or simply press the Enterkey after writing a paragraph to automatically create a new paragraph block. Find the way that feels most intuitive toyou. Common Blocks: Gutenberg comes with a variety of built-in blocks, including Paragraph, Heading, Image, Gallery, List, Quote, Cover, and Video. Experiment with these to see what they can do! Many plugins also add their own blocks, expanding your creative possibilities even further. Moving Blocks: You can easily rearrange blocks by using the up and down arrows that appear when you select a block. Alternatively, you can click and drag a block to move it to a new position. Drag and drop is often the fastest way to rearrange things, especially when working with longer content. Deleting Blocks: To remove a block, select it and click the three vertical dots (the "more options" menu) in the block's toolbar. Then, choose "Remove Block." Poof! Gone.
Example: Let's say you want to create a simple blog post with a heading, a paragraph, and an image. You would start by adding a Headingblock for your title. Then, you'd add a Paragraphblock for your introductory text. Finally, you'd add an Imageblock to insert a relevant picture. You can then move the image block up or down to adjust the layout.
Formatting Text and Creating Headings: Making Your Words Shine
Gutenberg offers a range of formatting options to help you make your text look its best.
Basic Formatting: Within a Paragraphblock, you can use the toolbar to applybold, _italic_, underline, strikethrough, and other basic formatting. You can also insert links to other pages or websites. Headings: Use Headingblocks to create clear and concise headings for your content. Gutenberg offers six heading levels (H1 to H6), allowing you to structure your content logically. H1 is usually reserved for the page title, so use H2, H3, and H4 for subheadings. Lists: Createordered(numbered) orunordered(bulleted) lists to present information in a clear and organized manner. Lists are great for breaking up large chunks of text and highlighting key points. Quotes:Use the Quoteblock to highlight important statements or to attribute quotes to other people. A well-placed quote can add credibility and impact to your writing.
Example: You're writing a recipe for chocolate chip cookies. Use a Headingblock for the title "Chocolate Chip Cookie Recipe." Use Paragraphblocks to describe the ingredients and steps. Use Liststo outline the ingredients in a clear, bulleted format. Use the Boldformatting to highlight key ingredients like "Flour" and Sugar.### Working with Images and Media: Adding Visual Appeal
Images and other media can significantly enhance the look and feel of your content.
Adding Images: Use the Imageblock to insert images into your content. You can upload images directly from your computer, select them from your media library, or insert them from a URL. Remember to addalt textto your images for SEO purposes and accessibility. Galleries: Create visually appealing galleries with the Galleryblock. You can upload multiple images and arrange them in a grid layout. Videos: Embed videos from You Tube, Vimeo, or other video platforms using the Videoblock. You can also upload video files directly to your media library. Cover Images: The Coverblock allows you to create stunning hero images with text overlaid on top. This is a great way to make a strong first impression.
Example: You're writing a travel blog post about your trip to Paris. Use Imageblocks to showcase photos of the Eiffel Tower, the Louvre Museum, and Notre Dame Cathedral. Use a Galleryblock to create a collage of your favorite Parisian pastries. Embed a You Tube video of a local street performer using the Videoblock. Use the Coverblock to create a dramatic header image with the title "Paris: A City of Lights."
Mastering Columns and Layout: Creating Dynamic Pages
Gutenberg allows you to create complex and dynamic layouts using columns.
The Columns Block: The Columnsblock allows you to divide your content into multiple columns. You can choose from a variety of pre-designed column layouts or create your own custom layout. Nesting Blocks: You can nest blocks within columns to create even more complex layouts. For example, you could place an Imageblock and a Paragraphblock within a column to create a visually appealing side-by-side layout. Responsive Design:Gutenberg is designed to be responsive, meaning that your content will automatically adjust to fit different screen sizes. However, it's always a good idea to preview your content on different devices to ensure that it looks its best.
Example: You're designing a product page for your online store. Use the Columnsblock to create a two-column layout. In the left column, place an Imageblock showcasing your product. In the right column, place Headingand Paragraphblocks describing the product's features and benefits. This creates a visually appealing and informative product page.
Leveraging Reusable Blocks: Saving Time and Effort
Reusable blocks are a fantastic way to save time and effort by creating blocks that you can use on multiple pages or posts.
Creating Reusable Blocks: To create a reusable block, select the block you want to reuse and click the three vertical dots (the "more options" menu) in the block's toolbar. Then, choose "Add to Reusable Blocks." Give your reusable block a name. Using Reusable Blocks: To use a reusable block, click the Add Blockbutton and search for the name of your reusable block. Click on the block to insert it into your content. Editing Reusable Blocks:When you edit a reusable block, the changes will be reflected on all pages and posts where the block is used. This makes it easy to update information across your entire website. Be cautious when editing reusable blocks, as the changes are global!
Example: You have a call-to-action that you want to use on multiple pages. Create a reusable block containing the call-to-action text and button. Then, you can easily insert the call-to-action block on any page or post with just a few clicks. If you need to update the call-to-action in the future, simply edit the reusable block, and the changes will be applied everywhere.
Exploring Advanced Gutenberg Features: Taking Your Content to the Next Level
Once you've mastered the basics, you can start exploring some of Gutenberg's more advanced features.
Custom HTML: The Custom HTMLblock allows you to insert raw HTML code into your content. This is useful for embedding widgets, adding custom styling, or integrating with third-party services.Use this feature with caution, as incorrect HTML can break your page. Shortcode Block: The Shortcodeblock allows you to use shortcodes from plugins that haven't yet been updated to support Gutenberg blocks. This provides a bridge between the old and new Word Press worlds. Cover Block with Fullscreen: The Coverblock has the ability to be set to fullscreen mode, offering an immersive viewing experience. This is often used to create hero sections at the top of a page that immediately capture the visitor's attention. Block Patterns: Word Press offers block patterns, which are pre-designed collections of blocks that can be inserted with a single click. These are great starting points for building complex layouts. Custom CSS: While you can style blocks directly in the editor, you can also add custom CSS to further customize their appearance. This requires some knowledge of CSS, but it allows for a high degree of control.Carefulwith custom CSS!
Example: You want to embed a Twitter feed on your website. Use the Custom HTMLblock to insert the Twitter embed code. You want to display a contact form created by a plugin that uses shortcodes. Use the Shortcodeblock to insert the contact form shortcode. By exploring these advanced features, you can unlock thefullpotential of Gutenberg and create truly unique and engaging content.
Step Four
So, there we have it! We’ve journeyed through the Gutenberg galaxy, exploring its planets (blocks), learning how to pilot the spaceship (editor), and hopefully, gaining the confidence to create amazing content. From understanding the interface and adding blocks to mastering layouts and leveraging reusable content, thisstep-by-stepguide has hopefully demystified the Gutenberg editor and shown you its true potential.
The key takeaway? Gutenberg is apowerfultool, but like any tool, it takes practice and patience to master. Don't be afraid to experiment, try new things, and make mistakes. That's how you learn! The Word Press Gutenberg Editor is waiting for you to explore its true potential.
Now, it'syourturn. Take what you've learned here and put it into practice. Create a new page or post and start building something amazing. Don't be afraid to get creative and push the boundaries of what's possible. Experimenting and practicing is the key.
Why not start today by redesigning your homepage using Gutenberg? Or maybe create a new blog post with a stunning layout? Whatever you choose, remember to have fun and embrace the learning process.
Go forth and create! The digital world awaits your unique content. We hope thisstep-by-step guide to using the Word Press Gutenberg Editorhas encouraged you to get started. Ready to transform your website into a masterpiece? Get started now!
Post a Comment for "Step-by-Step Guide to Using WordPress Gutenberg Editor"
Post a Comment